
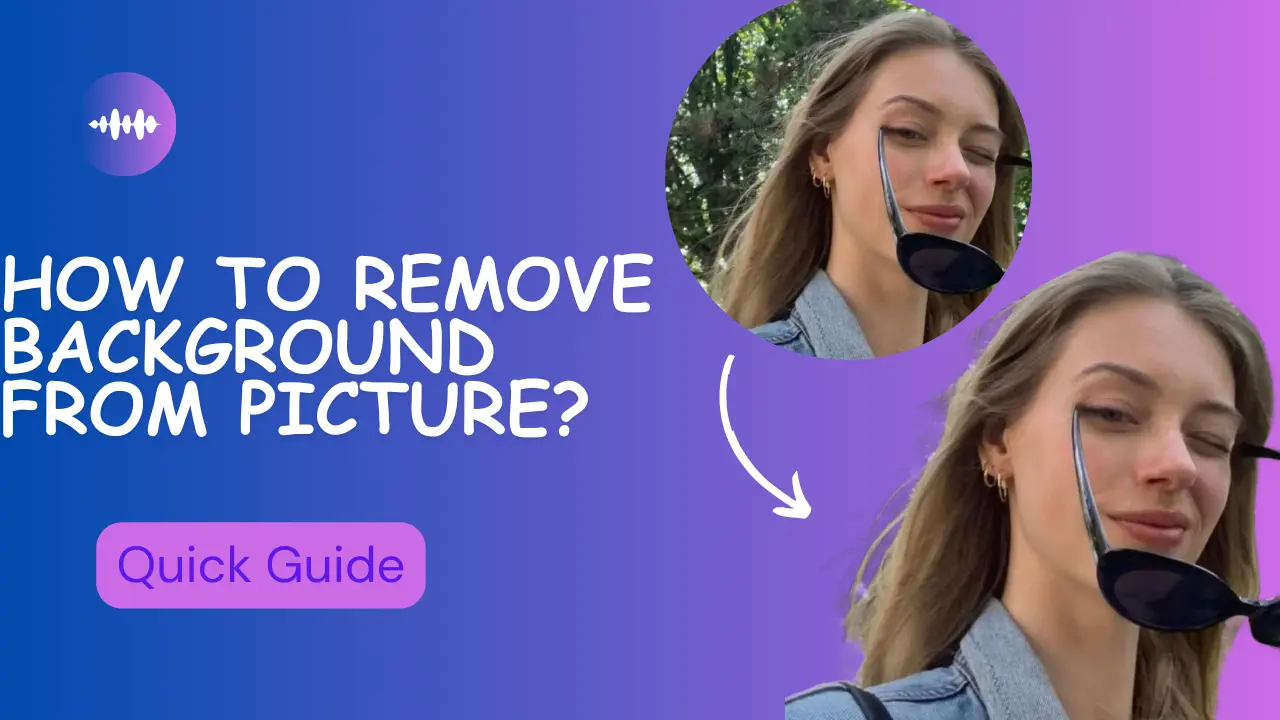
How to Remove Background from Picture: Quick Guide for Users
In today’s visually-driven world, mastering the art of removing backgrounds from images has become an essential superpower for creators of all kinds. Picture this: You’ve got a stunning product photo cluttered with a messy kitchen counter, or a perfect selfie ruined by bystanders photobombing the shot. Whether you’re crafting Instagram-worthy posts as a social media guru, designing sleek marketing materials for a client, or simply spicing up personal vacation pics for your blog, background removal is the secret sauce that transforms "good enough" into "wow."
Think about it – that crisp, clean look you see in professional ads, eye-catching thumbnails, or polished LinkedIn headshots? It all starts with removing distracting backgrounds to let your subject shine. For small business owners selling handmade goods online, this skill could mean turning amateur snapshots into Amazon-ready product listings. Even parents leveling up their holiday card game benefit from removing backgrounds to place the family perfectly against a winter wonderland scene.
Whether you’re designing a logo, promoting a product, or curating a flawless Instagram feed, removing backgrounds from images is a game-changer. But if you’re new to this, terms like "masking," "transparency," or "AI tools" might sound intimidating. Fear not! This guide will walk you through everything you need to know to remove backgrounds like a pro—no prior experience required.
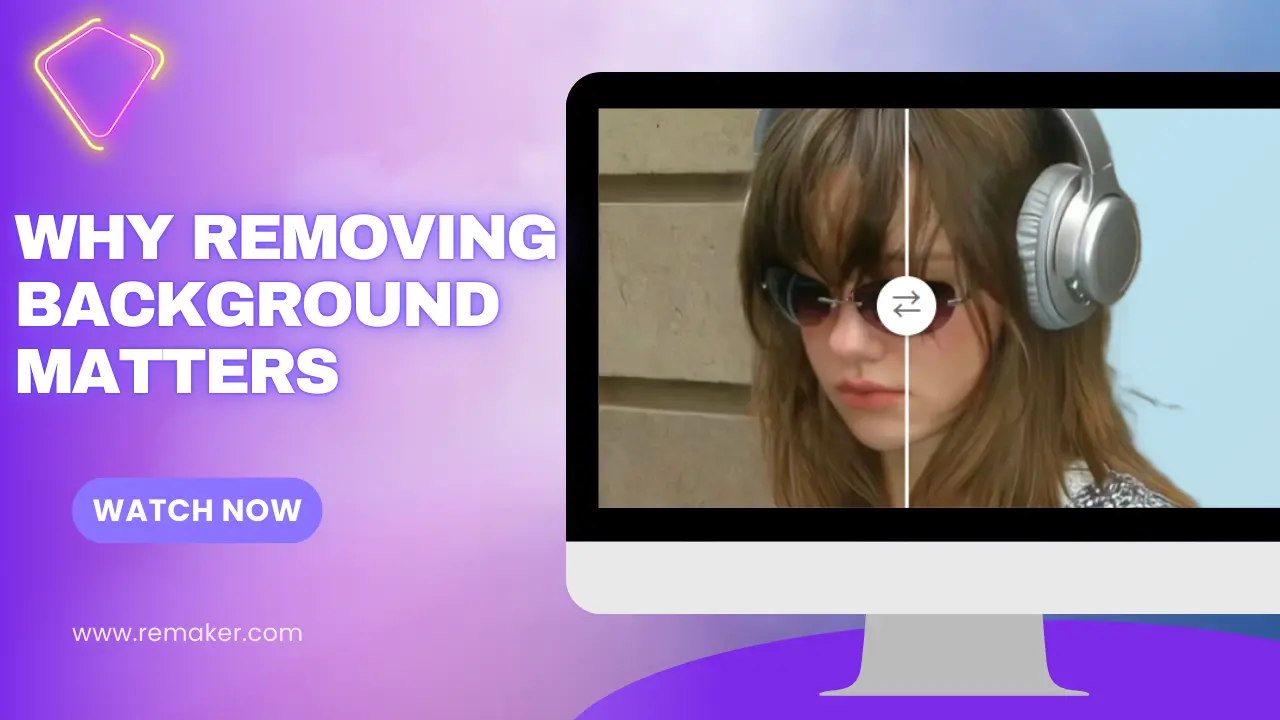
Why Removing Background Matters
1. Laser Focus: Why Removing Backgrounds Drives Engagement
Distracting backgrounds sabotage visual communication. Research reveals that images with transparent background increase viewer attention span by 40%. Whether you need to:
● Remove background from product photos for Amazon listings.
● Isolate models in fashion photography with precise background removal.
● Create transparent background logos for brand collaterals, eliminating visual clutter guarantees your subject commands undivided attention.
2. Brand Authority Through Professional Background Removal
A Shopify study found that stores using product images with transparent backgrounds saw 27% higher customer trust scores. Key applications:
● E-commerce: Remove background to meet Amazon’s strict “pure white background” requirements.
● Corporate branding: LinkedIn profiles with clean transparent background headshots get 2.3x more connection requests.
● Advertising: Facebook ads with isolated product visuals yield 35% lower CPC.
3. AI Background Remover = Creative Superpowers
Modern AI background removers like Remaker let anyone:
● Remove backgrounds in 2 seconds for social media content.
● Swap transparent background subjects into custom scenes (e.g., beach/office/abstract).
● Batch remove backgrounds from 50+ images for catalogs
📣Pro Tip: Combine background removal with tools like Canva to design posters, merch, or YouTube thumbnails instantly.
4. Cross-Platform Consistency via Automated Background Removal
Marketing teams use bulk background removal to:
● Maintain identical transparent background visuals across websites, print ads, and TikTok.
● Convert product photos to PNG with transparent backgrounds for seasonal campaigns.
● Localize imagery by removing backgrounds and adding region-specific textures.
Tools of the Trade: Master Background Removal at Any Budget
From instant AI magic to surgical precision, here's your 2025 toolkit to remove background like a pro - with specific recommendations for creators, marketers, and developers:
1. AI Background Remover (Instant Results)
🔥 Best for: Social media creators, quick edits, bulk processing
● Remove.bg
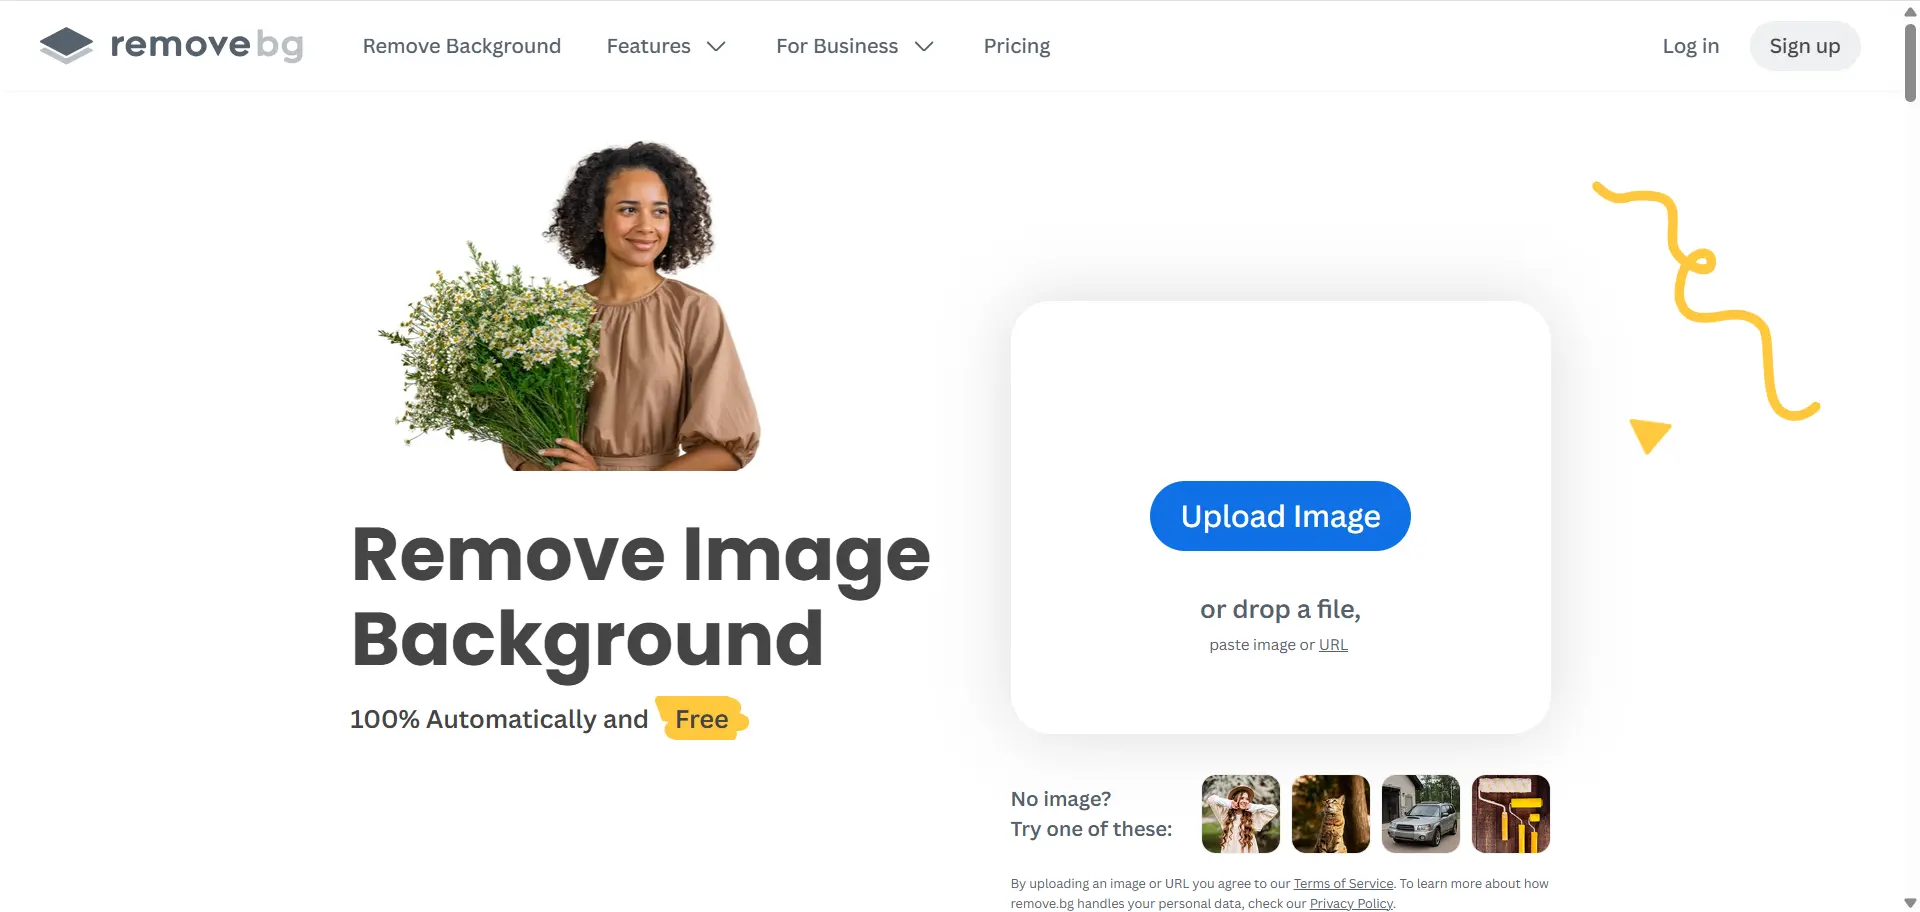
○ Instant: 1-click background removal via AI
○ Handles 12MP images under 5 seconds
○ Free tier: Standard resolution (500x500px)
● Remaker AI Background Remover (New!) ⭐️
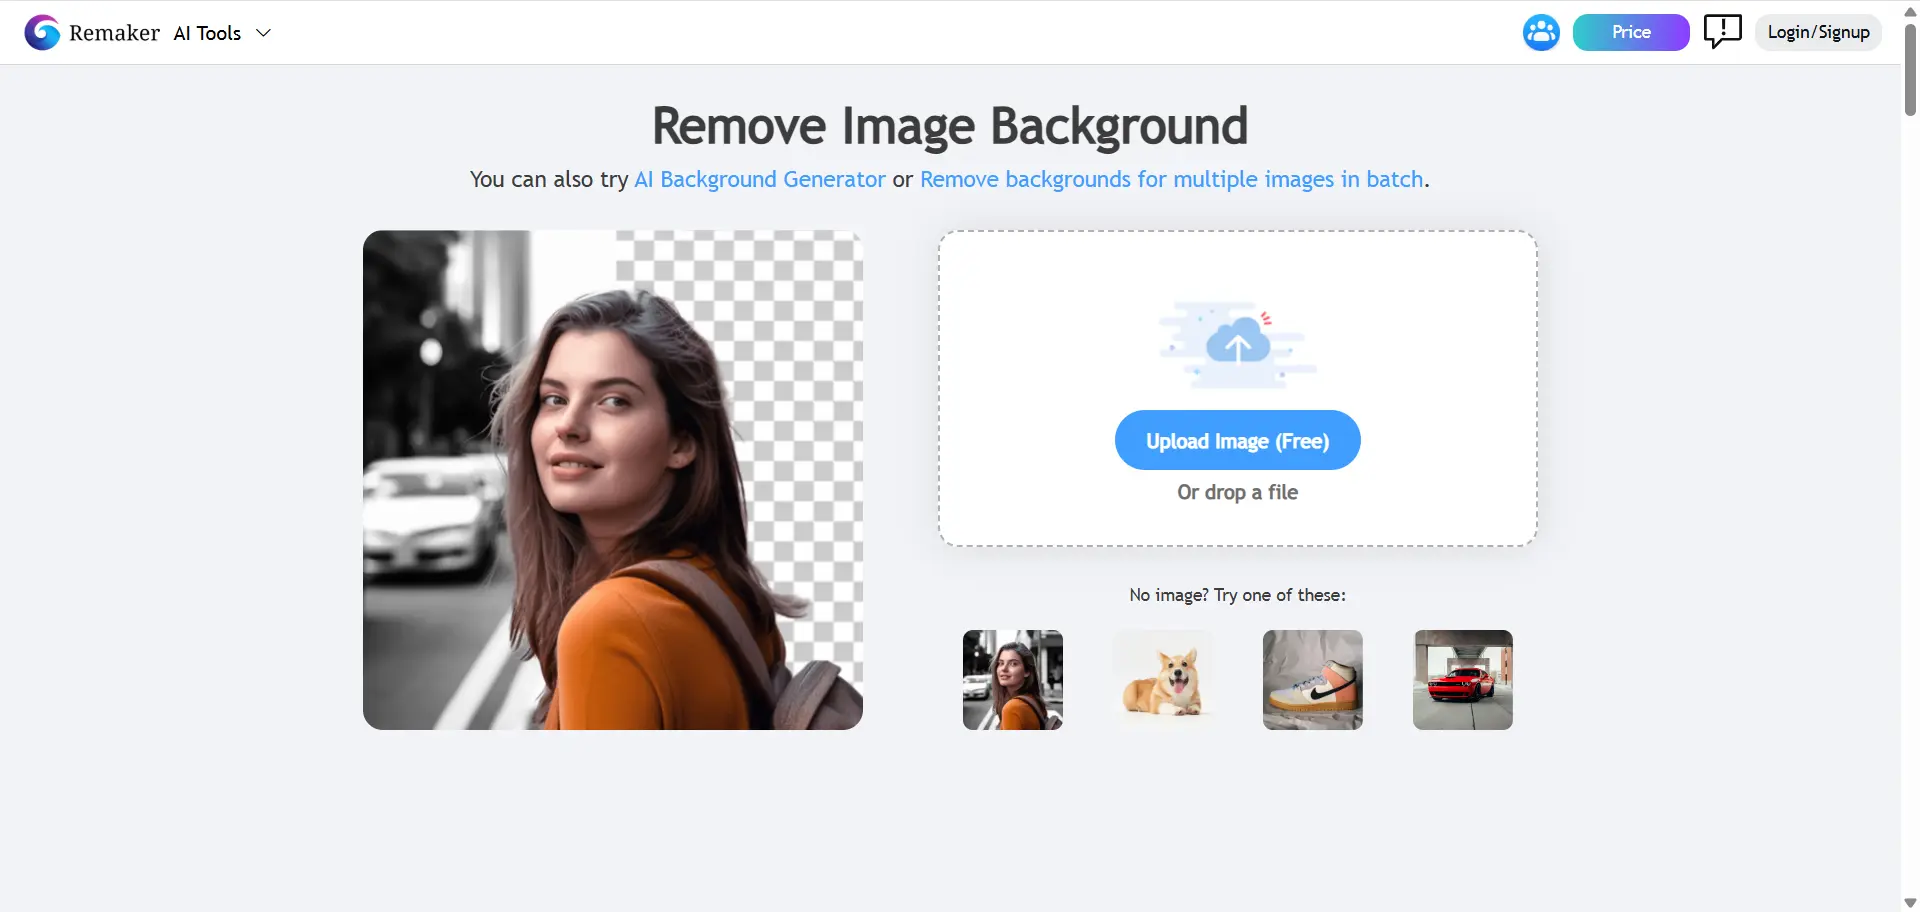
○ Free Tier: Remove background from picture for free. No sign-up required.
○ Preserves jewelry details when removing backgrounds.
○ Lightning-Fast Processing: help you remove backgrounds from pictures in seconds.
○ Batch Processing: Remaker AI Background Remover supports processing 50 images at once.
● Transparentbackground.ai
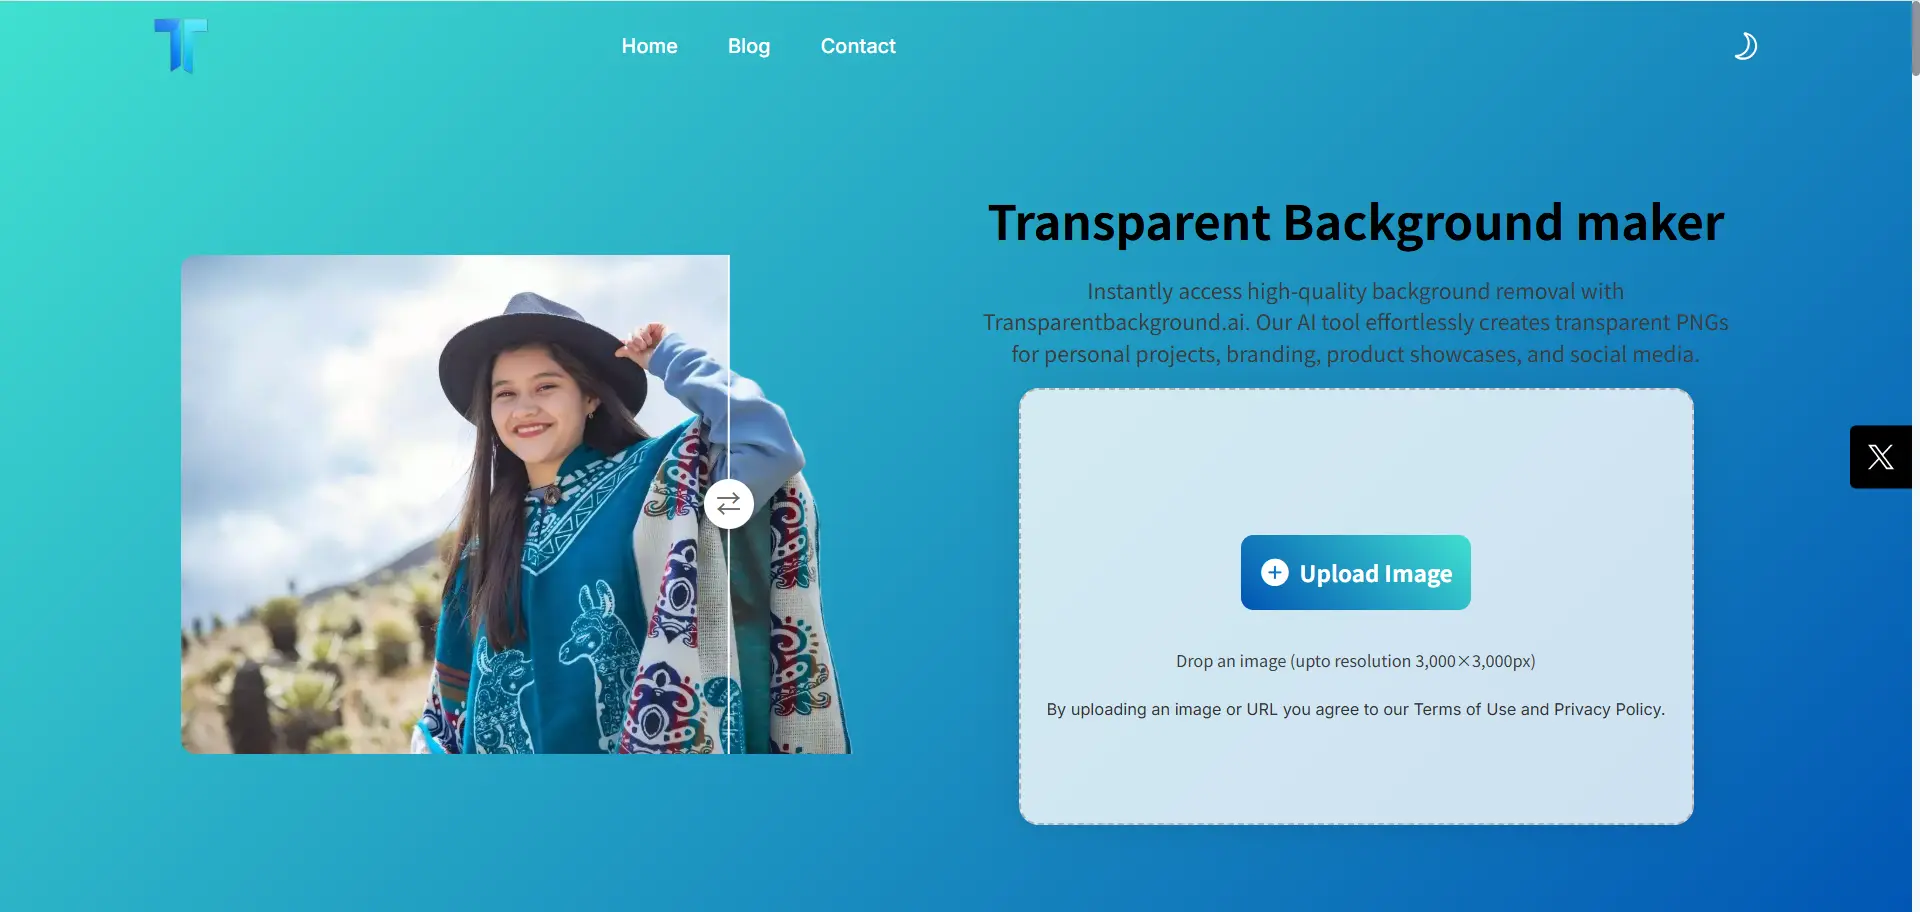
○ User-Friendly Operation: The platform simplifies background removal to a three-step process:upload your image, leverage AI to eliminate the background.
○ Auto-saves as PNG with transparent background.
2. Mid-Range Editors (AI + Manual Control)
🎯 *Best for: E-commerce sellers, photographers needing refinement
● Pixlr E ($9.99/month)

○ Browser-based background removal with layer blending.
○ AI auto-mask + manual brush for tricky edges (e.g., glassware).
● Fotor Pro($7.49/month)
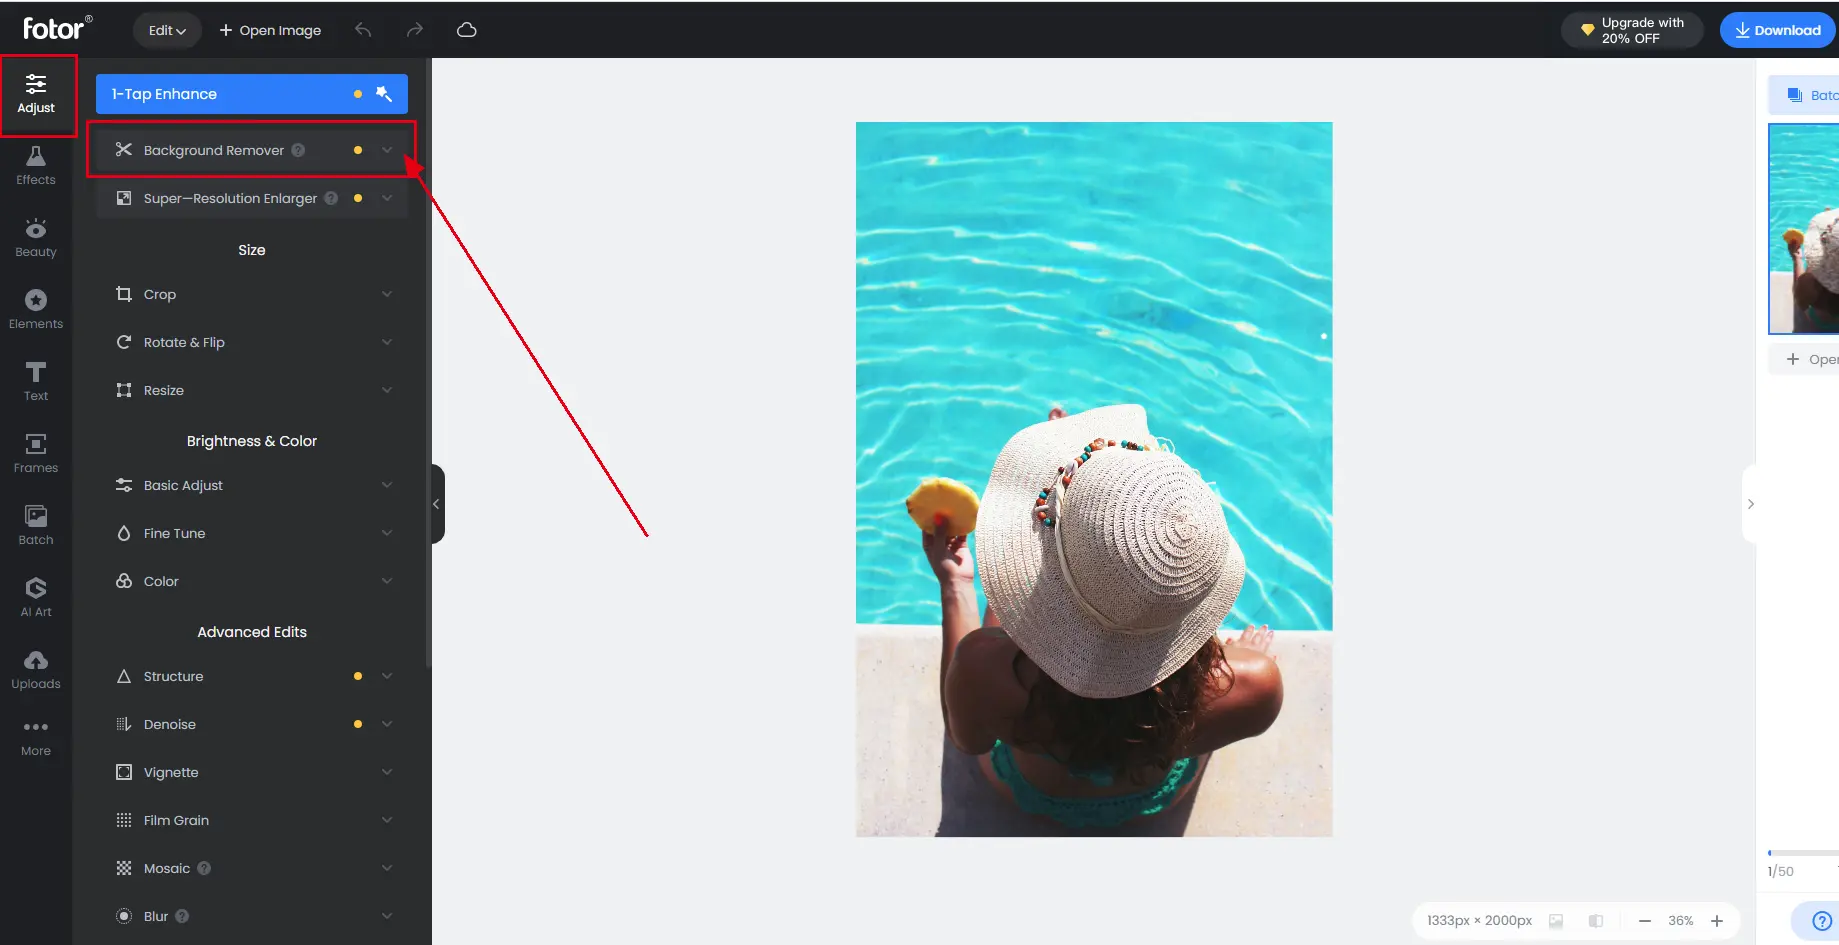
○ remove background in one click.
○ Only standard quality pictures can be downloaded for free. To download high-quality images, you need to pay.
3. Professional Software (Pixel-Perfect Precision)
💼 Best for: Design studios, commercial photography
● Adobe Photoshop ($22.99/month)
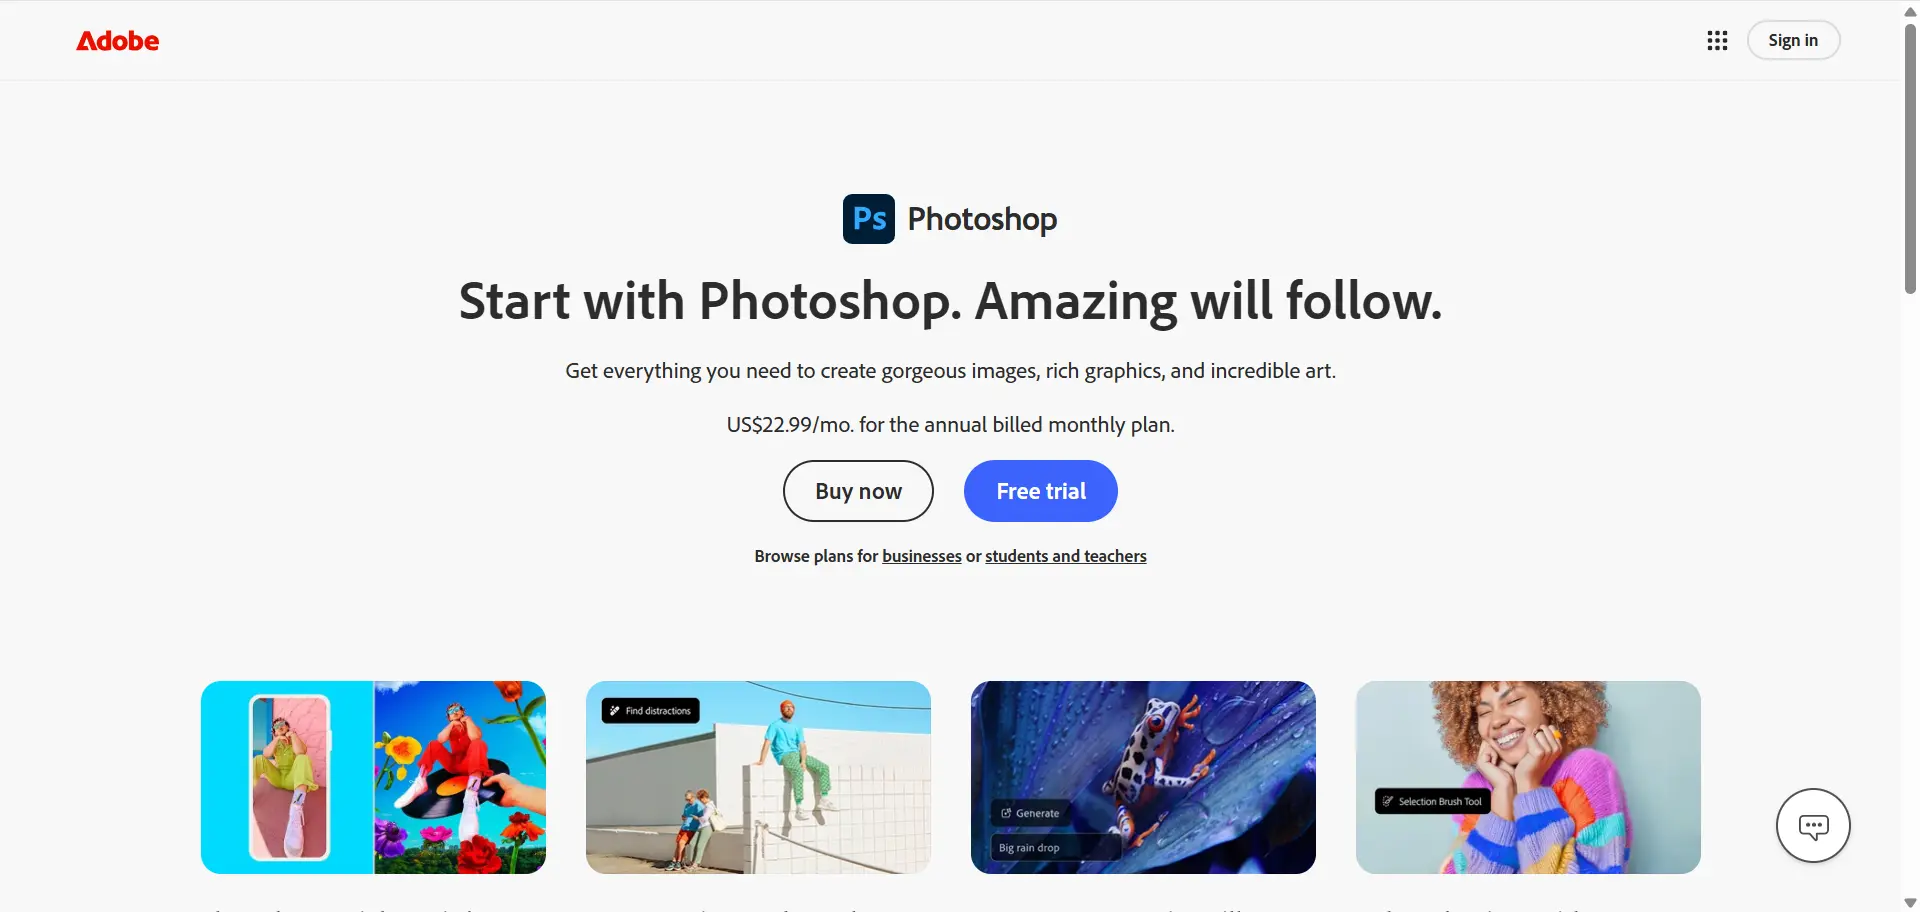
○ Gold-standard background removal workflow:
i. Use the Quick Selection Tool: Select the 'Quick Selection Tool' from the toolbar. This tool allows you to quickly select the subject of your image by clicking and dragging over it. Adjust the brush size as needed for more precise selections.
ii. Refine Edge: Once you've made an initial selection, use the 'Refine Edge' option found in the toolbar or by right-clicking on the selection. This allows you to fine-tune the edges of your selection, ensuring a clean separation between the subject and background. Adjust settings like 'Smooth', 'Feather', and 'Contrast' to perfect the selection.
iii. Remove the Background: With your selection refined, click on the 'Add Layer Mask' button at the bottom of the Layers panel. This will hide the background, leaving only your selected subject visible.
iv. Adjust and Perfect: Use the 'Eraser Tool' or 'Brush Tool' to make any final adjustments to the edges of your subject, ensuring a seamless look against any new background you choose to add.
○ Create complex paths with Pen Tool for jewelry/watch background removal
● GIMP (Free Open-Source)
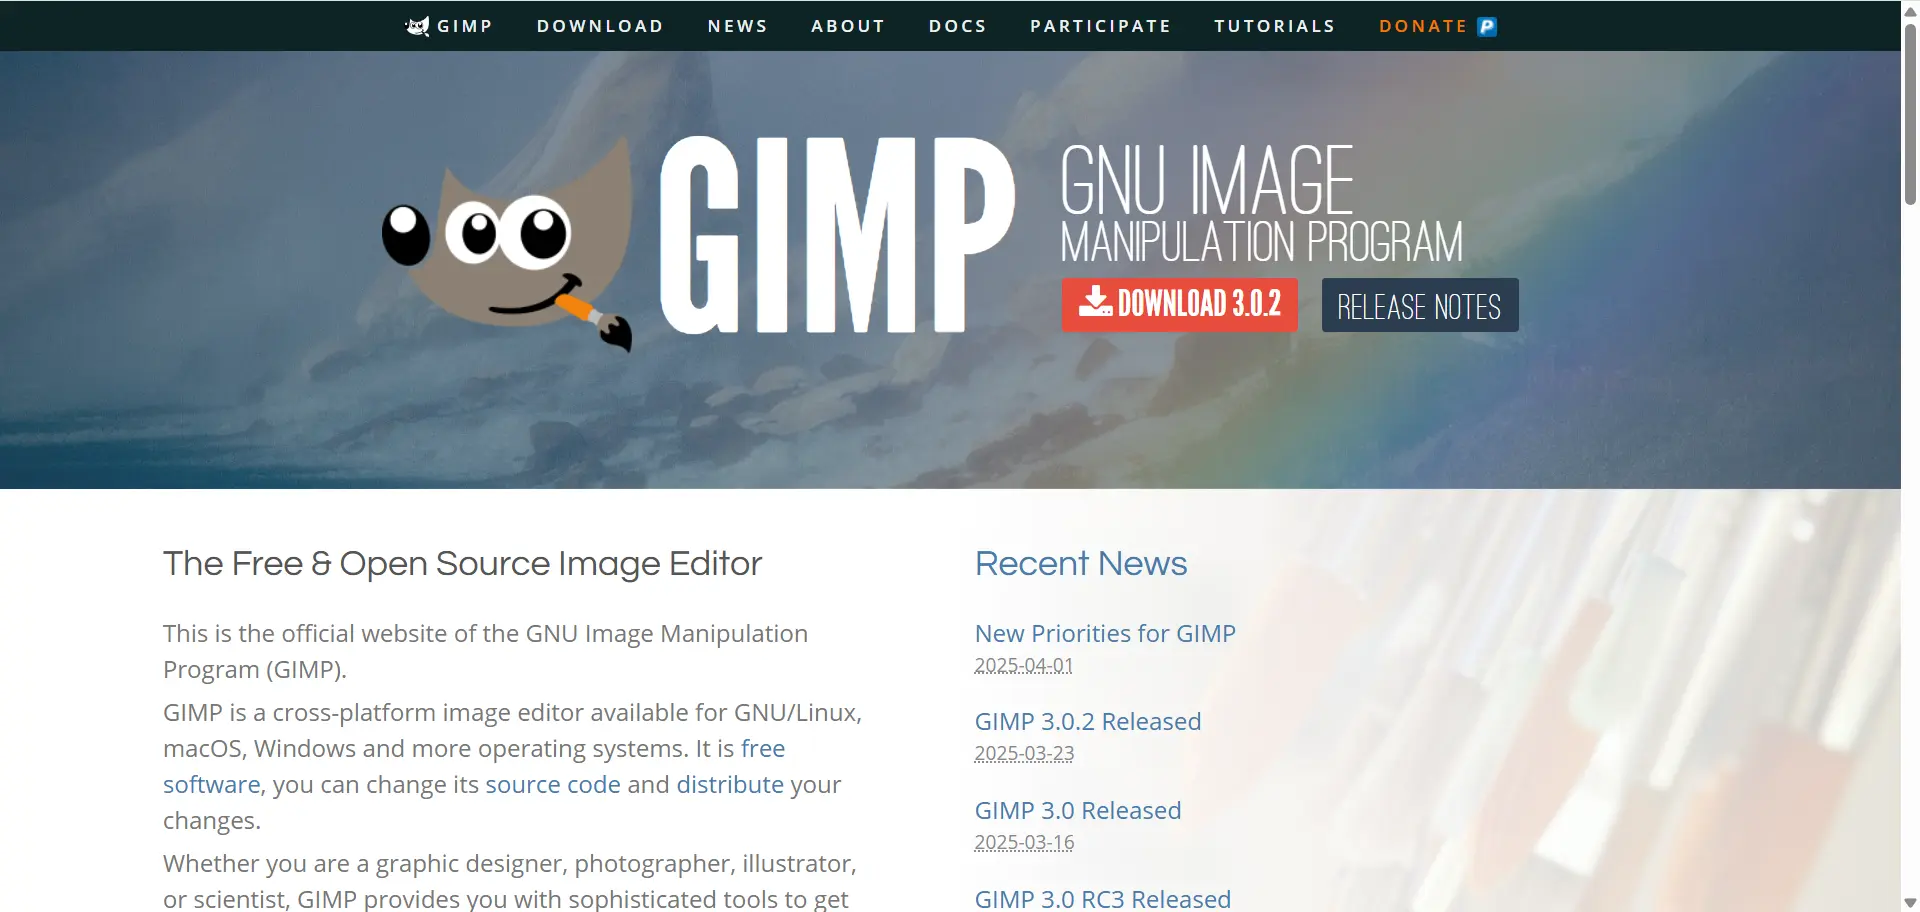
○ Use Foreground Select Tool + Layer Masks.
○ Plugin ecosystem for AI-assisted background removal.
○ Ideal for learning manual editing before removing backgrounds with AI.
● Capture One ($22.83/month)
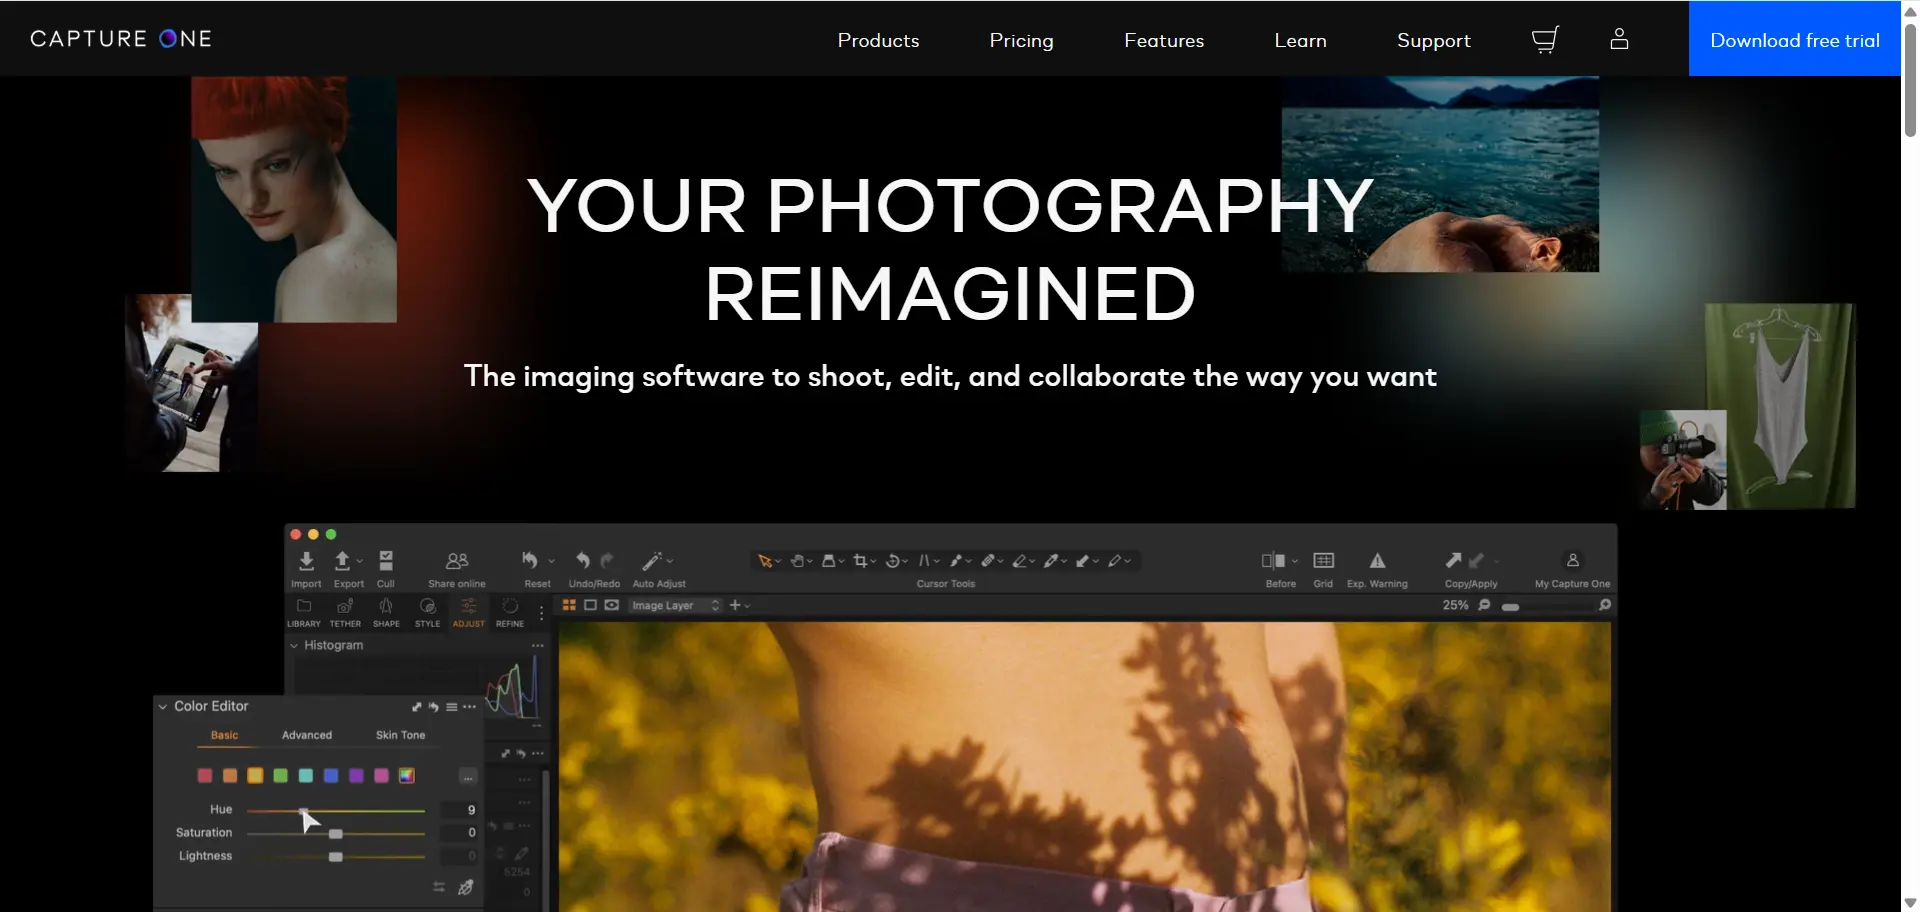
○ AI Masking: Capture One's AI masking feature can automatically identify and mask the subject or background.
○ Replace Background: Capture One 16.5.0 introduced the "Replace Background" feature, which allows you to change the background of your images using the Photoroom API.
○ Manual Masking and Layering: If you prefer manual control, you can create masks using the color editor or other tools, turn that selection into a masked layer, and invert the mask. The "Magic Eraser" tool can also be used for removing background.
How to Remove Background from Picture Using Remaker: Step-by-Step Guide
Step 1: Access Remaker.ai
● Visit Remaker's online AI Background Remover and click “Upload Image” to start the background removal process.
Step 2. Let AI Instantly Remove Background
● Remaker’s AI auto-detects subjects (people, products, pets) and removes backgrounds in 2-3 seconds.
● No manual brushing required—ideal for batch remove background tasks (supports 50+ images at once).
Step 3. Refine & Change backgrounds

● If you're not satisfied, you can re-upload and reprocess the image.
● Once it has a transparent background, you can replace it with a new one by choosing from our system or uploading your own background.
Step 4. Download or Share
● Export as PNG with transparent background.
● Directly share it, because it’s watermark-free!
Creative Uses for Transparent Background Pictures: Unleash Your Vision
Mastering background removal unlocks endless possibilities – here’s how professionals and creators leverage transparent background images to innovate across industries:
1. Elevate Product Photography with Precision
● E-commerce Optimization:
○ Remove background to create Amazon-compliant pure white product shots (required for 85% of top-selling listings).
○ Swap backgrounds to match seasonal campaigns (e.g., holiday-themed backdrops for Christmas sales).
● Brand Storytelling: Place transparent background products in lifestyle scenes (e.g., a blender in a sunlit kitchen).
● Case Study: Brands using customizable transparent background visuals report 22% higher add-to-cart rates.
2. Dominate Social Media & Viral Content
● Memes & Collages:
○ Remove background from celebrities/objects to create humorous mashups (e.g., a politician riding a dinosaur).
○ Use apps like CapCut to animate transparent background PNGs for TikTok/Reels.
● Templates & Challenges:
○ Design “Add Your Face” templates by removing backgrounds from frames (e.g., magazine covers).
○ Launch UGC campaigns asking followers to remove photo backgrounds and insert their pets into memes.
📣Pro Tip: Instagram carousels with transparent background cutouts gain 3x more shares than static images.
3. Revolutionize Graphic Design Projects
● Logo & Branding:
○ Convert logos to transparent background PNG for seamless website/merch integration.
○ Layer background-removed icons over gradients or motion graphics.
● Print & Digital Media:
○ Assemble infographics by combining 10+ background-free charts/illustrations.
○ Design magazine covers with dramatic background-removed portraits (see Vogue’s minimalist editions).
4. Fuel Personal Creativity & Side Hustles
● Custom Merchandise:
○ Turn transparent background pet photos into stickers, mugs, or T-shirts via Printful.
○ Sell transparent background digital assets on Etsy (e.g., holiday clipart packs).
● Art & Decor:
○ Print background-removed family portraits as vinyl wall decals.
○ Craft surreal digital art by mixing AI-generated backgrounds with removed background subjects.
● Niche Example: “Invisible Man” Halloween costumes using background-removed clothing PNGs over green screens.
Pro Tips to Level Up Your Background Removal Game
Mastering background removal isn’t just about the tools you use—it’s about smart preparation and creative experimentation. These insider strategies will help you achieve studio-quality results, whether you’re editing product photos or crafting viral memes.
Let’s dive deeper:
1. Lighting Matters
Shooting your subject against a solid-colored backdrop (green, white, or light gray) isn’t just a suggestion—it’s a cheat code for flawless background removal. Here’s why:
● Green Screens: The classic choice for professionals. Green creates maximum contrast with most subjects, making it easier for AI Background Remover to detect edges. Plus, apps like Remaker AI or Remove.bg can auto-remove green backgrounds in seconds.
● White Background: Ideal for e-commerce or minimalist branding. A clean white background mimics the “infinity wall” look used in high-end product photography.
● Avoid Shadows: Use diffused lighting (e.g., softbox lights or a cloudy day outdoors on a cloudy day) to prevent harsh shadows from blending with your subject.Pro Hack: No professional setup? Hang a plain bedsheet or poster board behind your subject. Just ensure it’s wrinkle-free and evenly lit!
2. Check Resolution: Quality In, Quality Out
High-resolution images (300 DPI or higher) are your best friend for crisp edges. Here’s how to avoid pixelated disasters:
● Shoot in RAW: If your camera allows it, RAW files retain more detail than JPEGs, giving AI Background Remover more data to work with.
● Zoom In: After removing the background, zoom to 200% to check for jagged edges. If details look fuzzy, go back to the original high-res file.
● Beware of Compression: Social media platforms compress images. Always edit and save your final version as a PNG before uploading.
📣Pro Tip: Use free tools like GIMP or Remaker AI Image Upscaler to upscale low-res images before removing backgrounds. Want to enlarge your images without losing quality? Check out our comprehensive guide on how to do it effectively.
3. Layer Organization
When you remove backgrounds, working with layers is like wearing a seatbelt—it saves you from catastrophic mistakes. Follow these rules:
● Duplicate Early, Duplicate Often: Always duplicate your base layer before attempting to remove backgrounds – it’s your safety net. Right-click your original layer and select “Duplicate Layer” before making edits. Label layers clearly (e.g., “Subject – Hair Details” or “Background – Gradient Test”).
● Use Adjustment Layers: Instead of directly editing pixels, apply brightness/contrast or color corrections via non-destructive adjustment layers.
● Save Versions: Create incremental saves (e.g., “Product_Photo_v1.psd”, “Product_Photo_v2.psd”) to backtrack if needed.
4. Experiment with Backgrounds: Unleash Creativity
A transparent PNG (achieved via AI background remover) is just the first step. Transform your isolated subject with these ideas:
● Gradients: Use tools like Canva or Adobe Color to create smooth color transitions. A sunset-style gradient (orange to purple) adds drama to portraits, while a subtle white-to-gray works for corporate headshots.
● Patterns & Textures: Sites like Unsplash, Pexels, or TextureKing offer free marble, wood, or fabric textures. Overlay them subtly to add depth without overwhelming the subject.
📣Pro Tip: Use color theory to your advantage. A bright yellow background will make a blue product pop, while a muted tone lets minimalist designs shine.
Conclusion
Removing backgrounds isn’t just a technical skill—it’s a creative superpower. With tools now more accessible than ever, anyone can transform cluttered snapshots into polished visuals. Start with AI for quick wins, then gradually explore manual techniques as you gain confidence. Remember, even the pros make mistakes (and hit “Undo” a lot!).
So go ahead: Take that photo buried in your camera roll, remove the background, and watch it go from “meh” to magnificent.