How to Unblur an Image on iPhone: Simple and Effective Methods (2025)
Every one of us has been through this. You click open your iPhone camera, looking forward to fixing that incredibly blissful moment into a picture-perfect photograph-and then you see the horror. The blur. That abominable fuzzy mess that turns your otherwise glorious moment into something that looks more like an abstract piece of art. Whether the photo involves a group laughing or a beautiful sunset photo, blurry photos really stink the moment.
But do not panic! You have got options. A mini-tutorial flashes before one's eyes today on three quickest ways to restore those cloudy pictures: the former route through App Store, iPhone's built-in fix, or the trendy and quick one—Remaker AI. All it does is clear your blurry picture with a click; there is nothing to download. Here we go searching for your ultimate choice!

Why Are Your Photos Blurry? (Let’s Get to the Bottom of This Mystery)
Now, before jumping into fixing the blur, let’s first try to get to the bottom of how they happen. Understanding the cause can help you to avoid it in the future-or make fixing it a little easier.
1.Focus Problems:
You did not have the right focus at the time of taking a picture, and boom- there is your blurry photo. It happens many times while capturing something that is moving fast.
2.Shaky Hands:
You know the deal-every time you catch a glimpse of your camera taken, your fingers go free and shake like you've had five cups of coffee. This can generally shake the camera and there could be a nice blurry image. And it happens even worse in low-light situations.
3.Low-Light Conditions:
When the light is poor, the camera solves this problem by slowing down the shutter speed; when the picture is taken, it's more natural for blurry pictures if your hands are not still.
4.Fast-Moving Subjects:
The images you take could be somewhat blurry instead of straightforward, due to cameras being able to register motion at the time when a person, running or perhaps a dog chasing its tail, crosses in front of them.
So now that we know why they happen, let’s fix them and get those pictures sharp again!
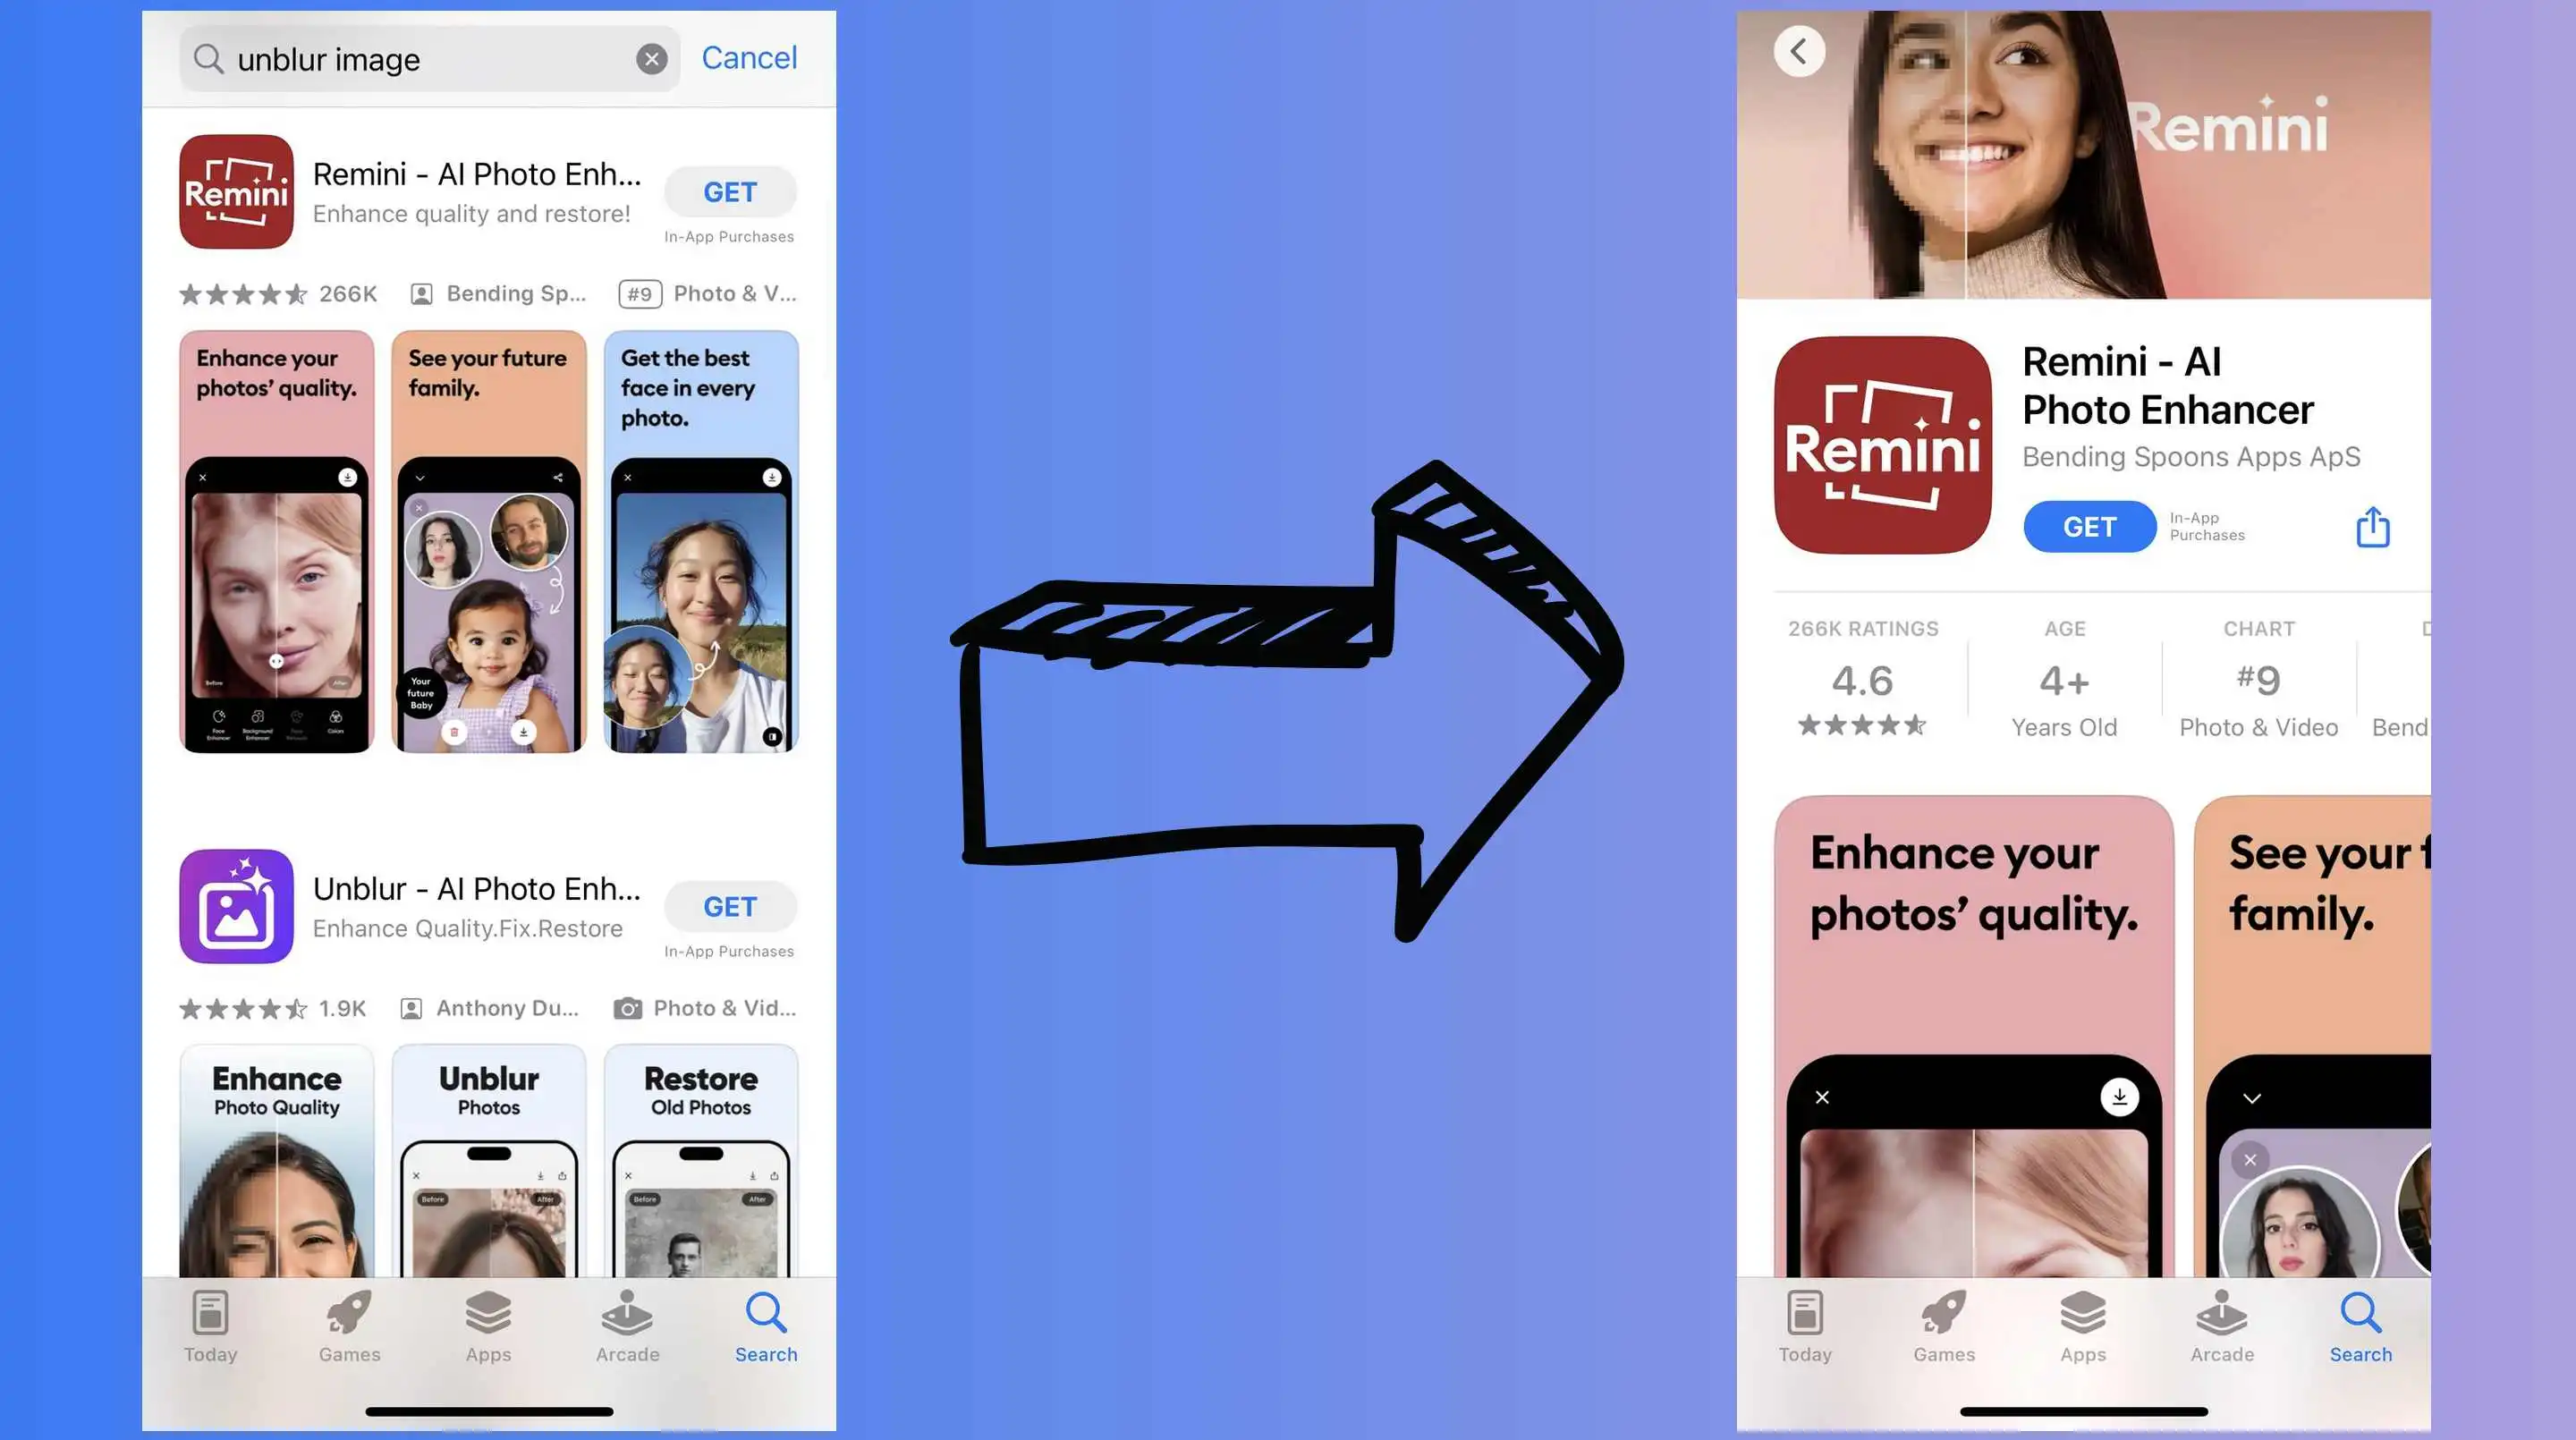
Method 1: Fix Blurry iPhone Photos Using Apps from the App Store
Head over to the App Store and search for "unblur image"—you’ll find plenty of apps promising to fix your blurry photos in seconds. But let’s cut to the chase: one of the best options out there is Remini.
So, what’s the deal with Remini? Simply put, it’s like a magic wand for your blurry photos. This AI-powered app takes those out-of-focus, pixelated, or just plain fuzzy images and sharpens them up like they were shot on the latest iPhone.
Whether it’s an old, low-resolution picture or a recent snap that just didn’t turn out right, Remini can breathe new life into it. No Photoshop skills required—just a few taps, and voilà, your photo is crisp and clear again.
The catch? While you can download Remini for free, to access all of its features, you’ll need to subscribe to their premium plan, which costs $9.99 per week.

Method 2: Use iPhone’s Built-in Photo Editing Tools
Now, if you don’t feel like downloading an app or subscribing to a premium plan, fear not! Your iPhone comes with some pretty handy built-in photo editing tools that can help sharpen your blurry photos. Let’s dive into how to make the most of those.
How to Unblur Your Photo Using iPhone’s Native Tools
Editing on the iPhone is impressively powerful. In Photos, one can apply effects like sharpness, contrast, and clarity adjustments with relative ease. This is how you can improve a blurry picture!
1.Open the Photos App:
Locate the blurry image from the camera roll and tap on it for viewing.
2.Tap Edit:
On the right corner in the top section, you will see the "Edit" button. Tap on it, and it's done!
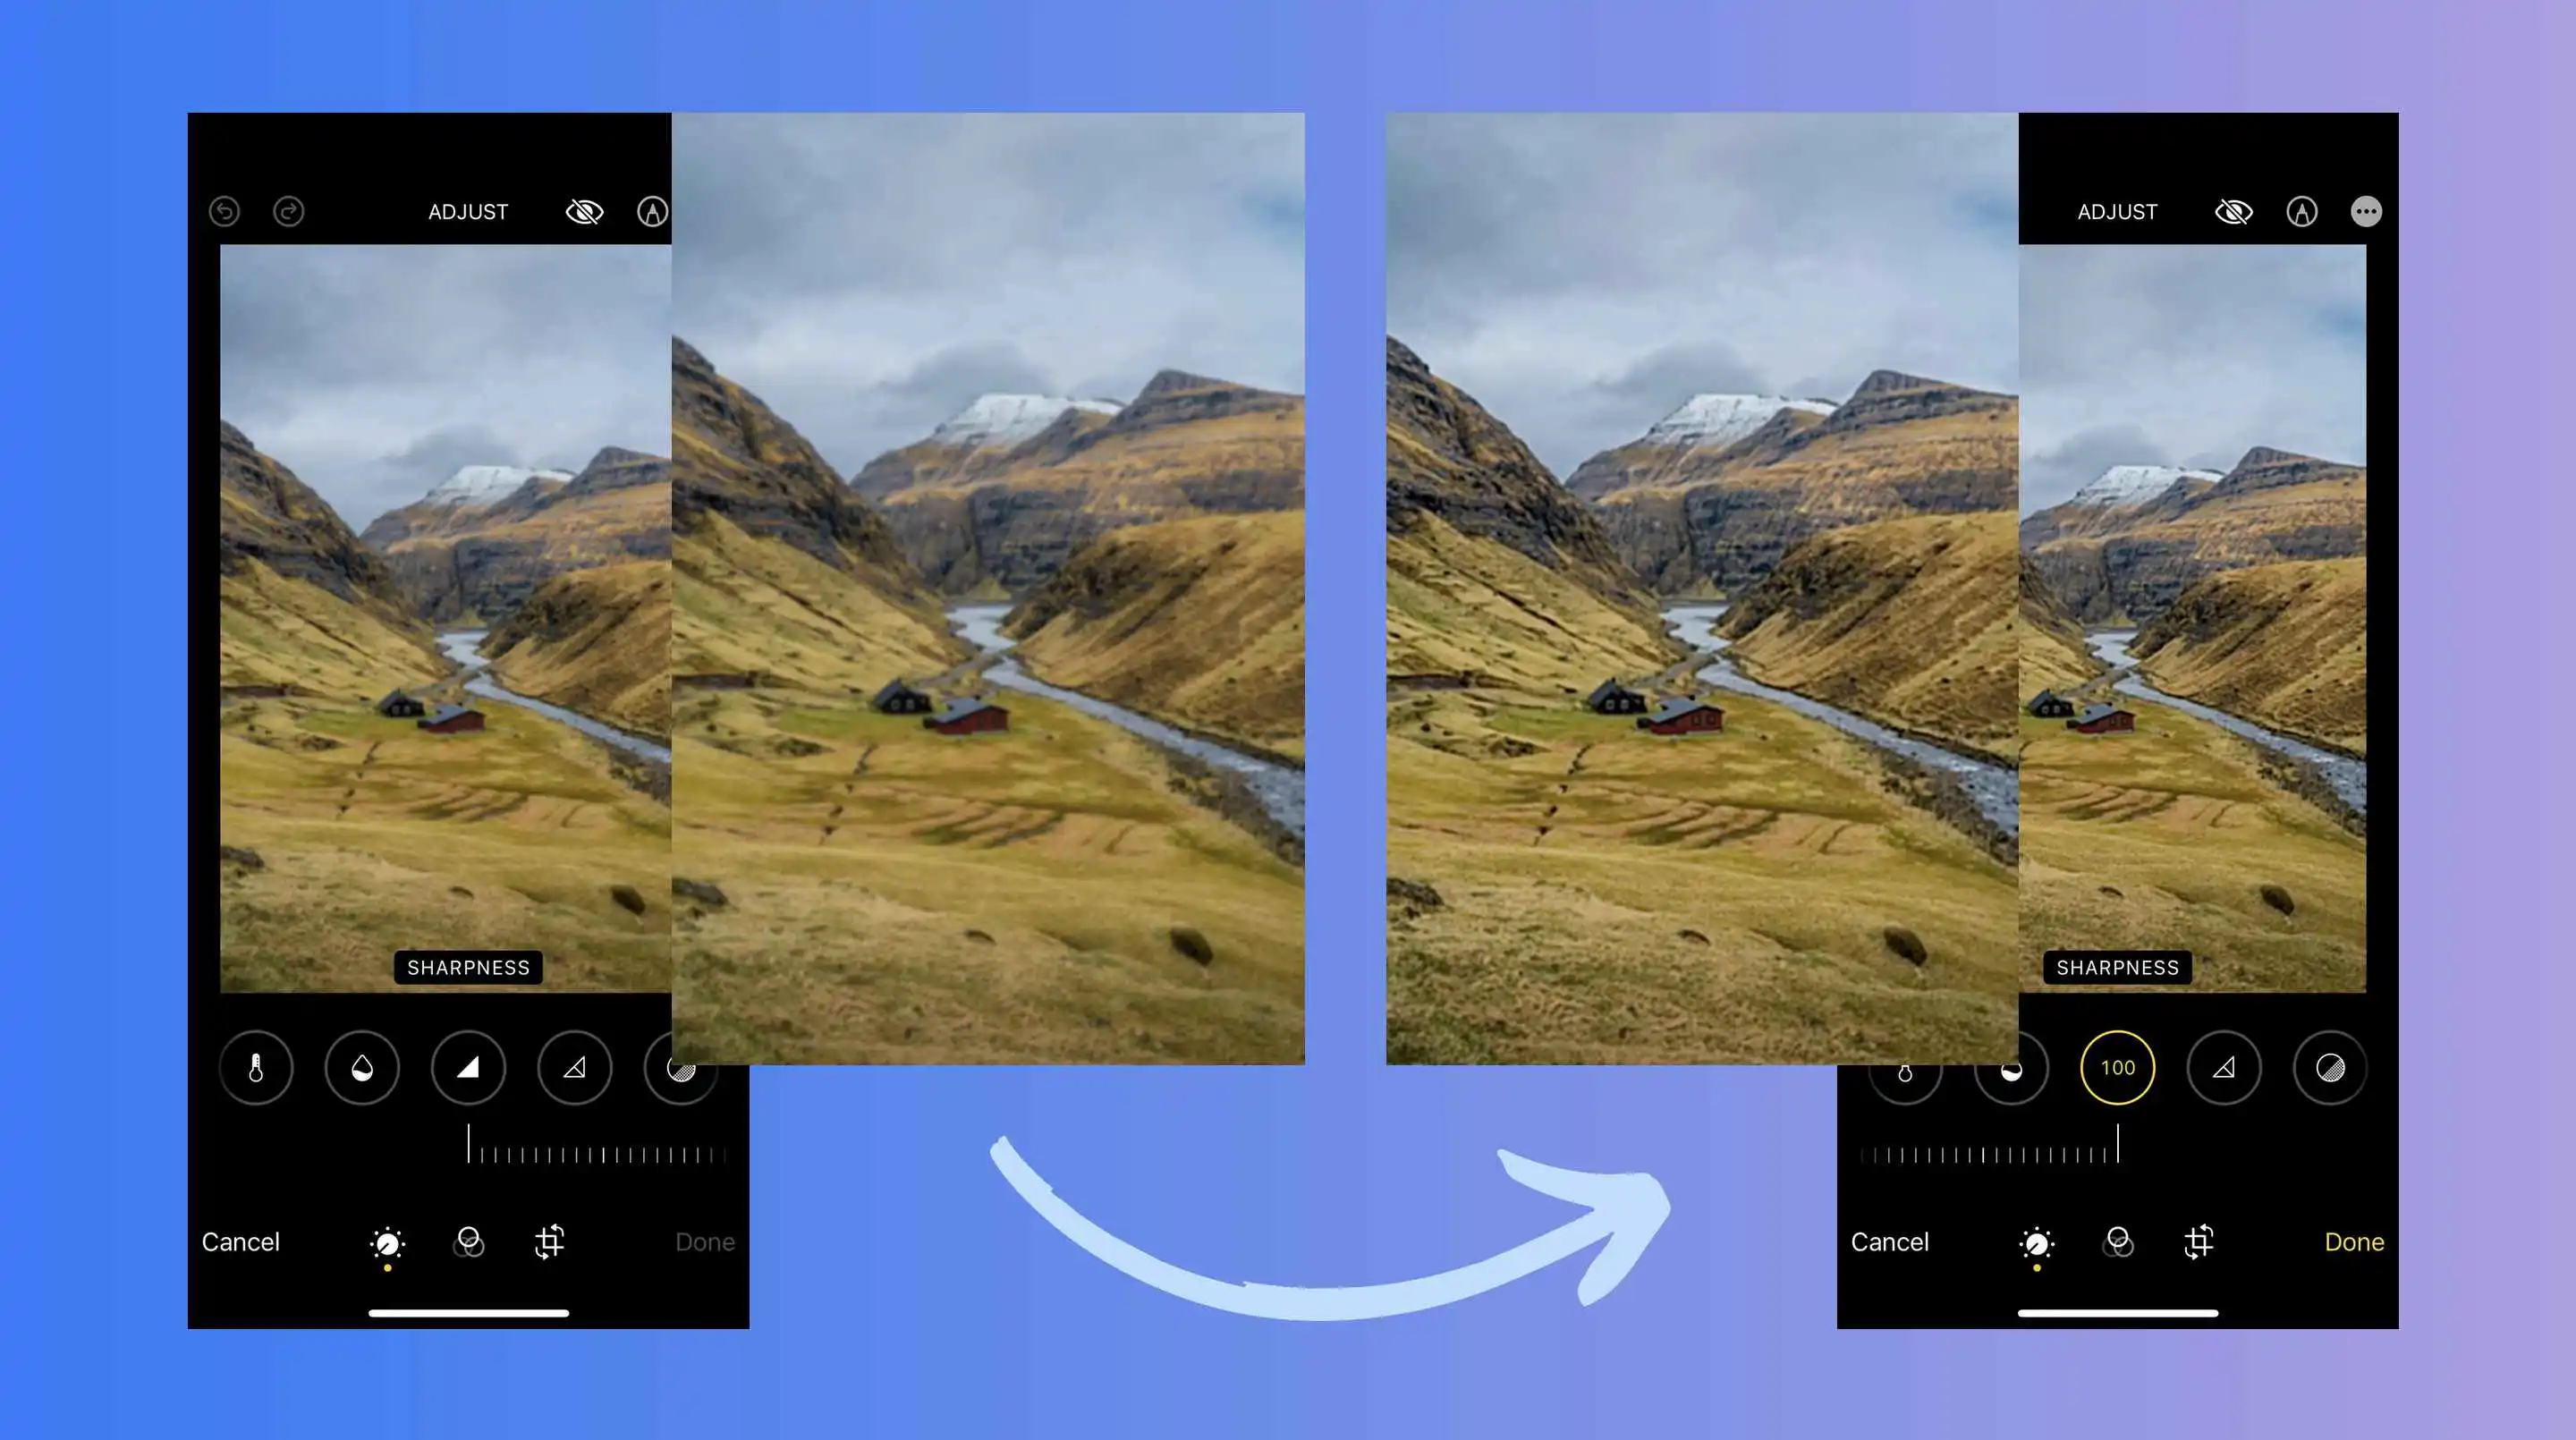
3.Adjust Sharpness:
Next, click on the "Adjust" icon, which looks like a dial, and then select the option where it states "Sharpness." Slide the sharpness bar a little to the right to get more detail into that image!
4.Save Your Edits:
Once you are done with the adjustments, click on "Done," and that's it! Your once blurred photo is sharper now.
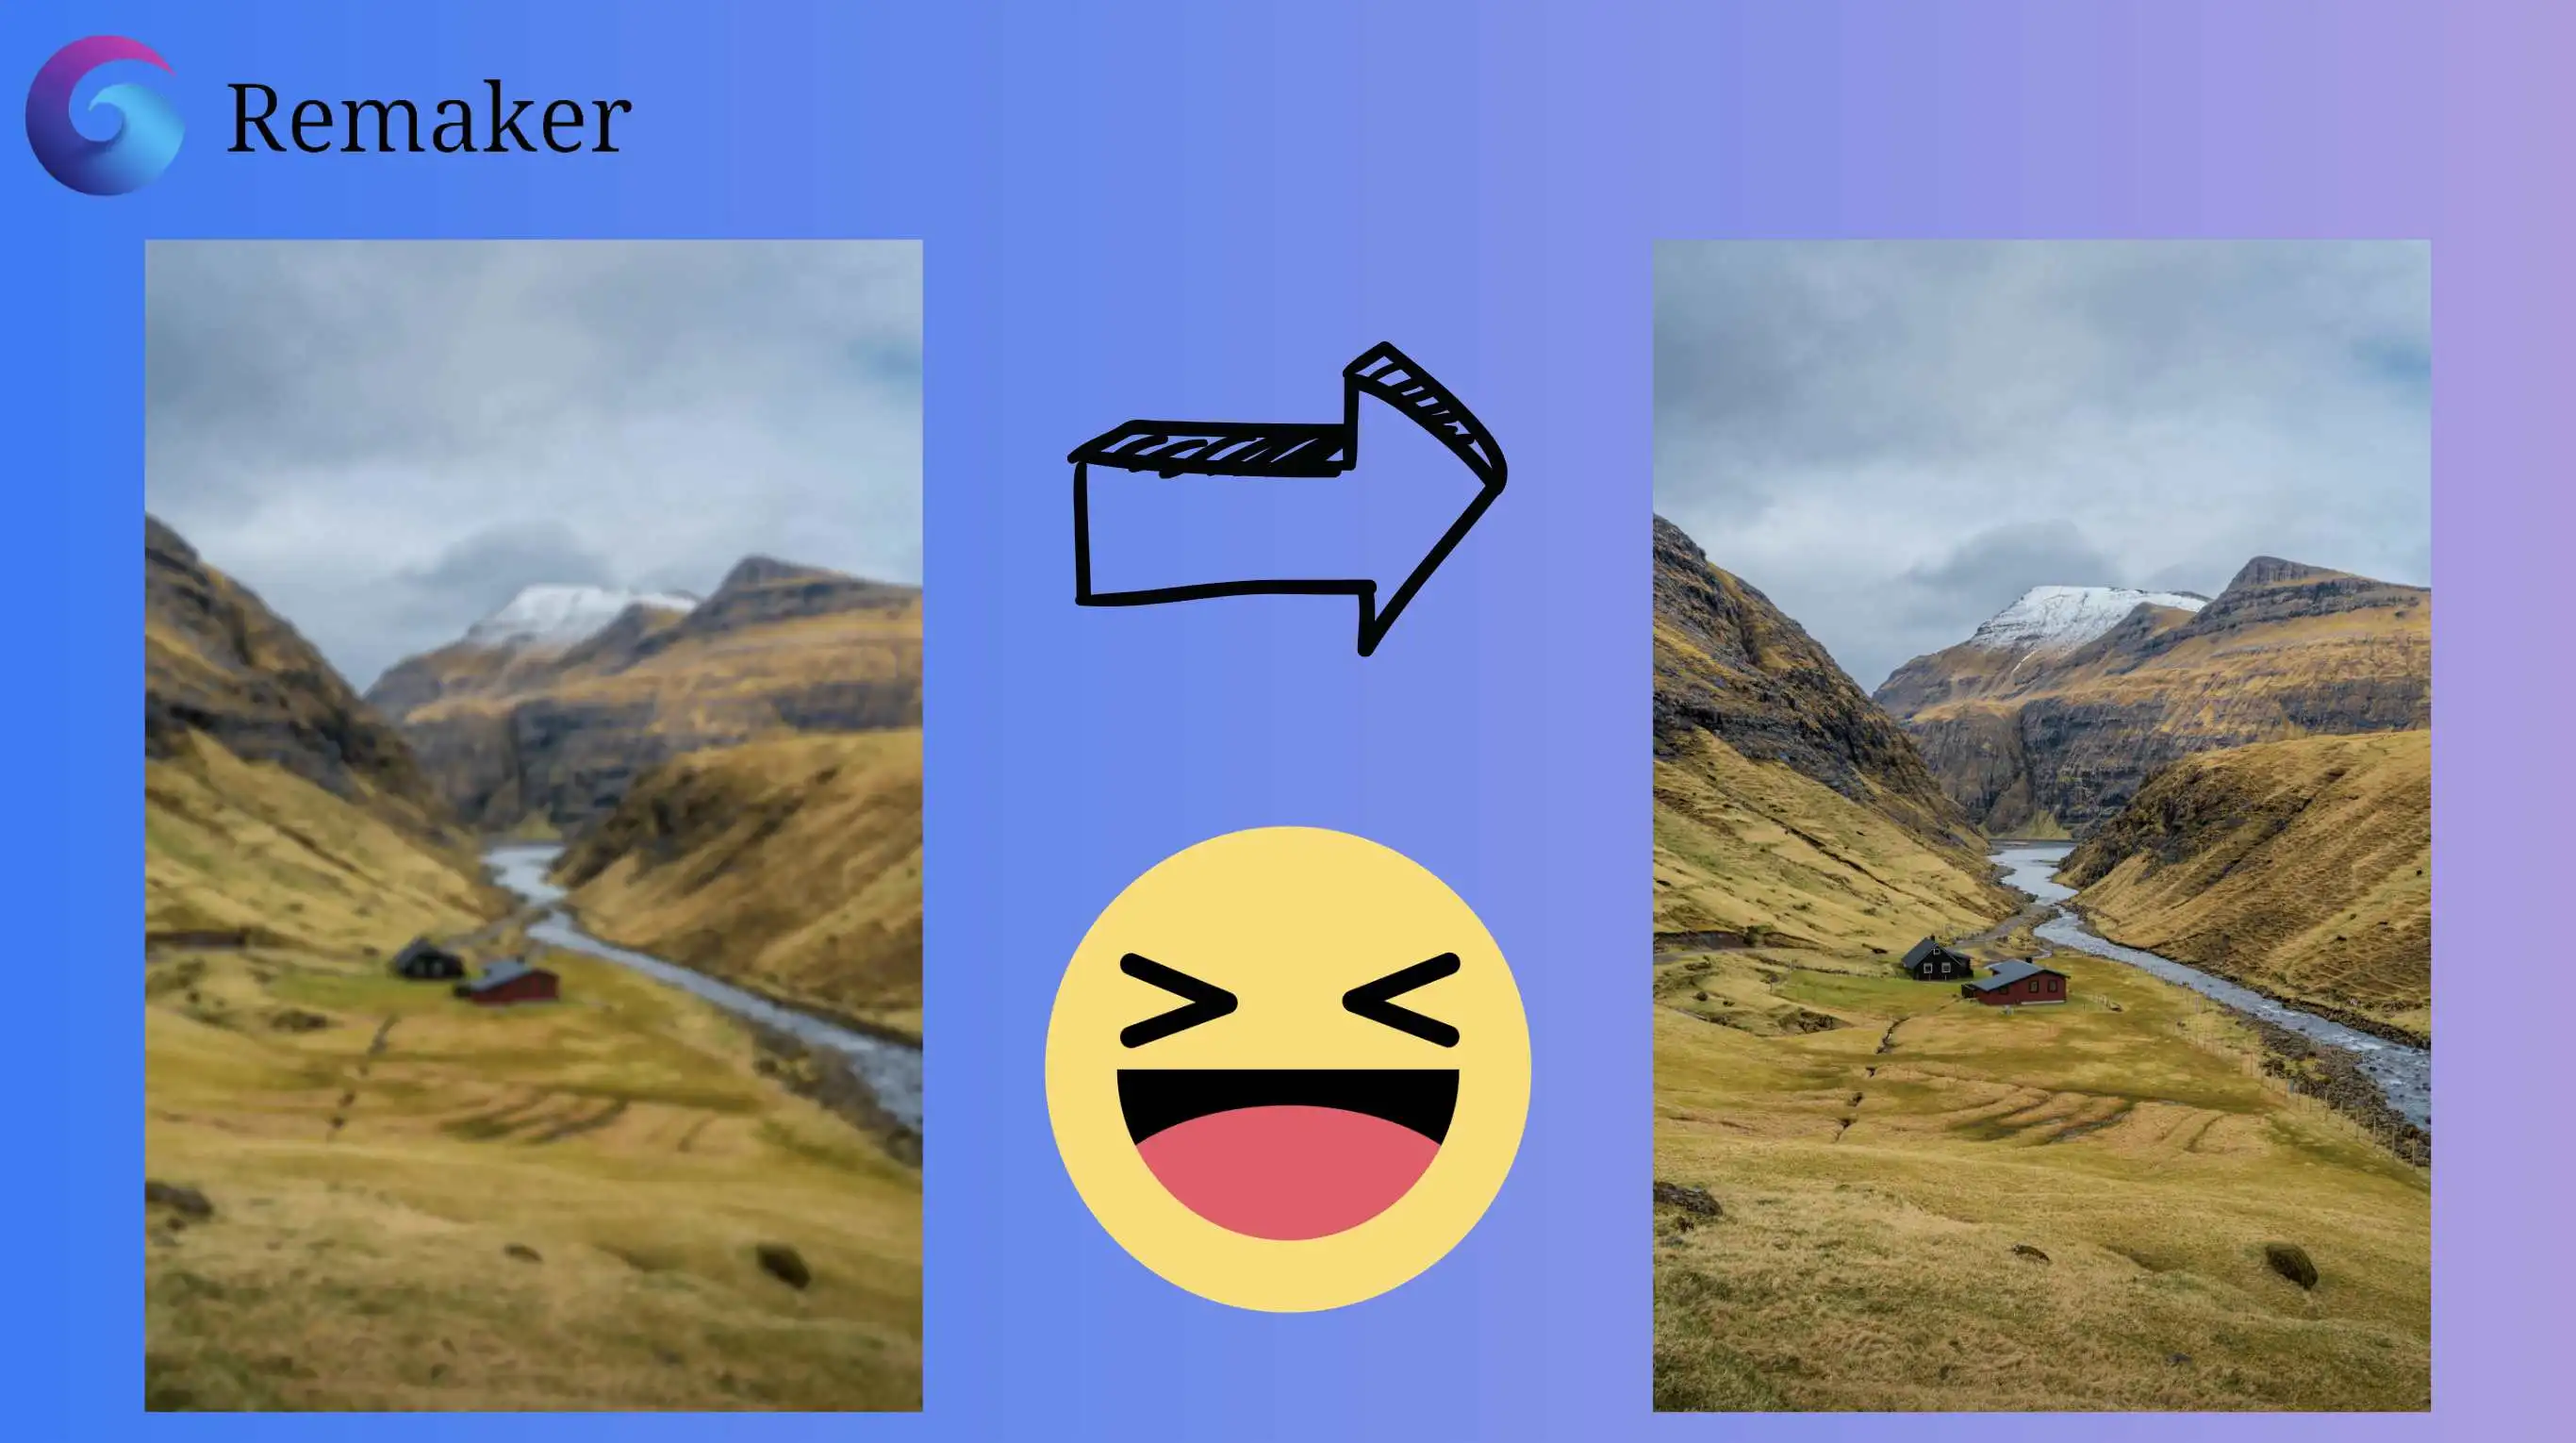
Perfectly Unblur Imge: Use Remaker for the Better Solution
Using the built-in sharpening feature on your iPhone can be convenient, but let’s be honest, it often falls short in delivering the crispness you need. On the other hand, apps from the App Store, like Remini, offer a much better result, but there’s a catch: they require downloading, a subscription, and they take up precious storage space. Not to mention, they’re not always free!
So, is there a solution that gives you great results, is super convenient, and can be used anytime without downloading anything? The answer is yes! You can use Remaker, a powerful online tool that lets you unblur photos directly from your browser.
Next, let me show you how to unblur an image on iPhone with Remaker. It’s fast, easy, and free for basic use!
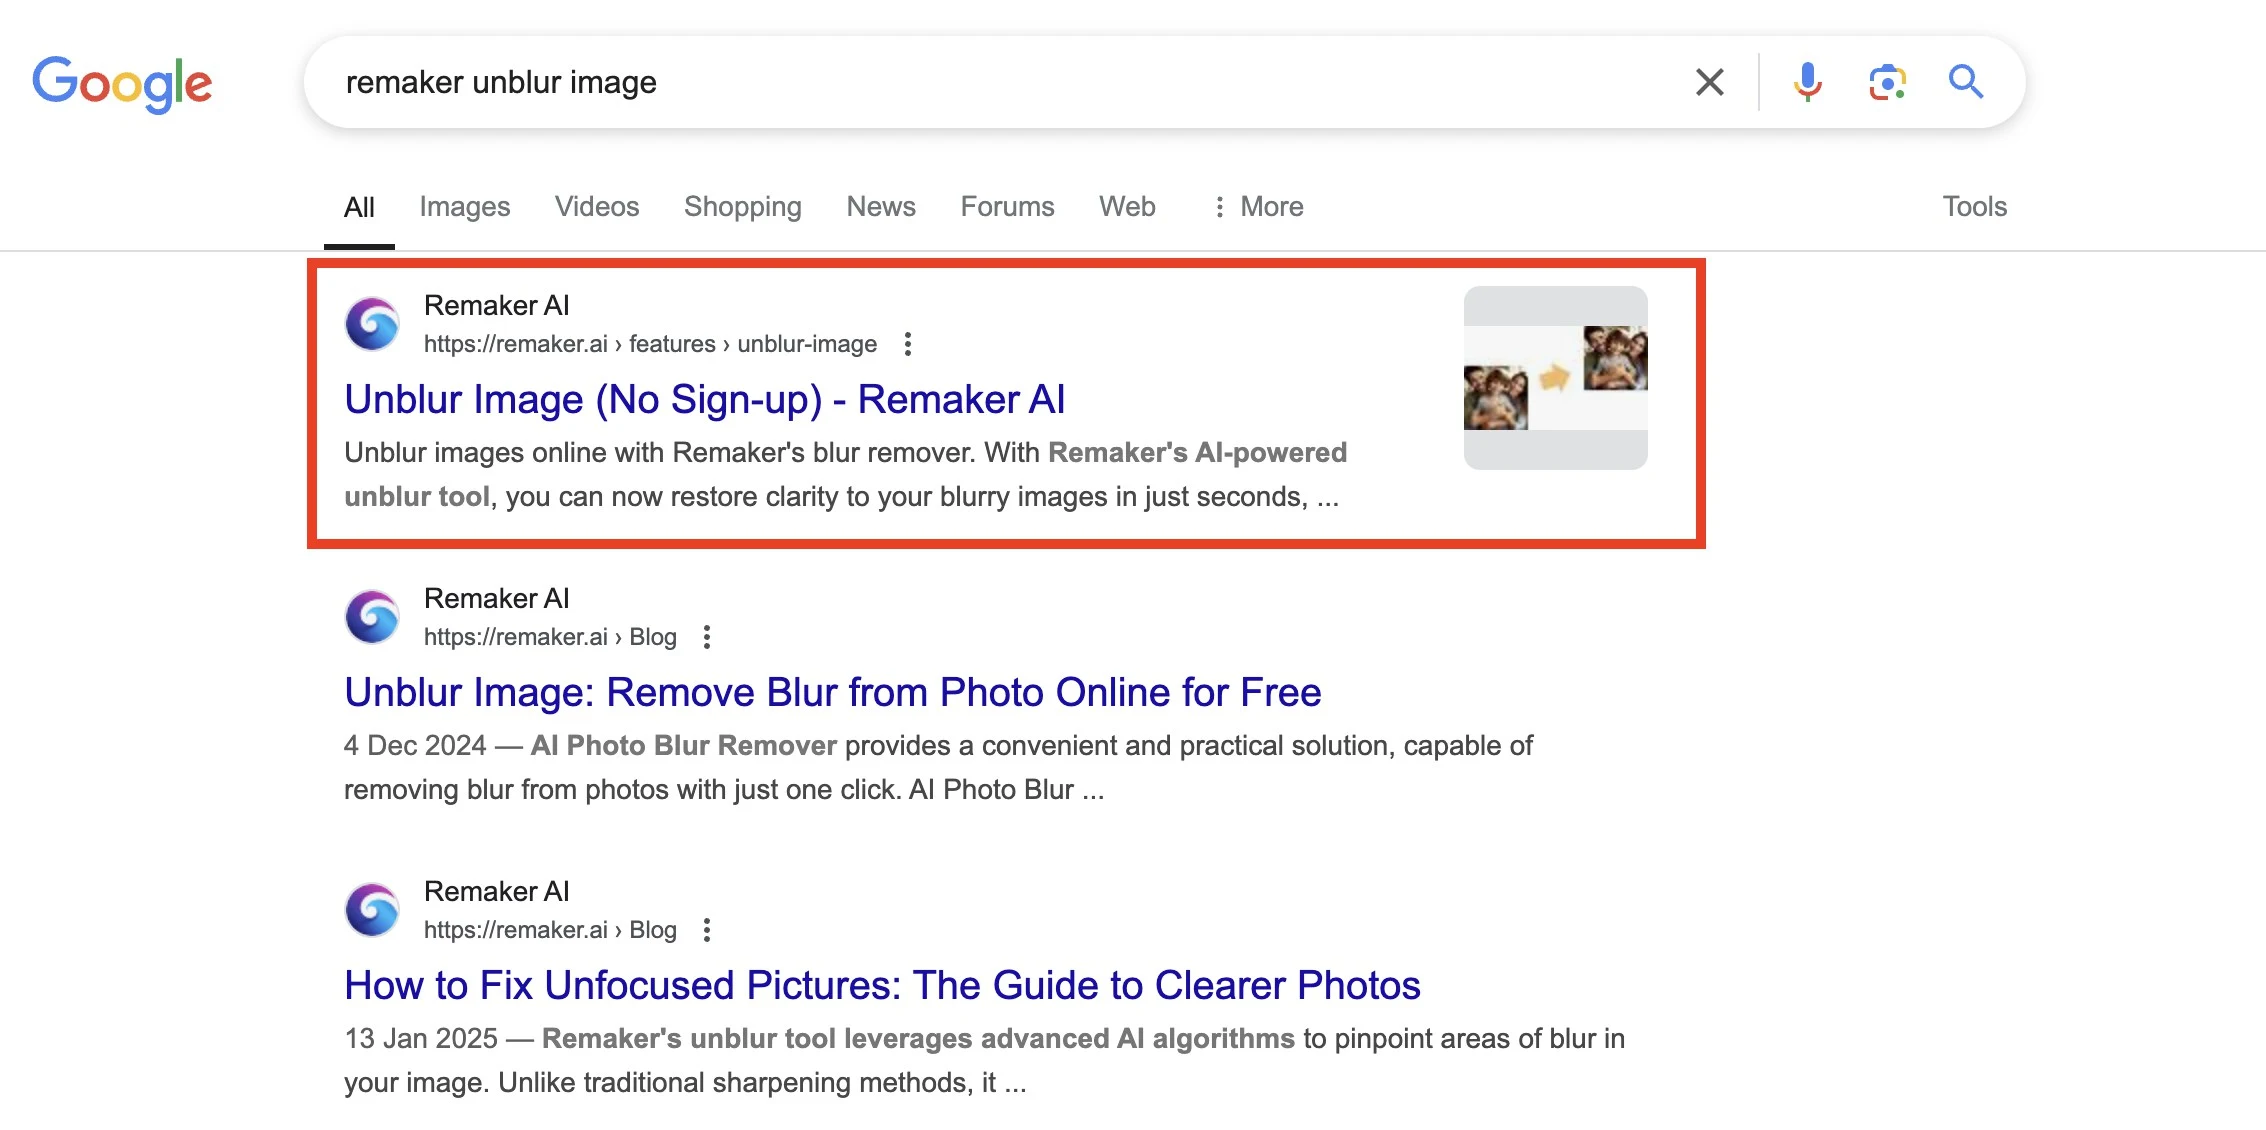
Step 1: Open Google and Search for "Remaker Unblur Image"
Open your browser (Safari, Chrome, whichever you prefer) and type “Remaker unblur image” in the search bar. Hit enter and you’ll land on the Remaker AI tool page.
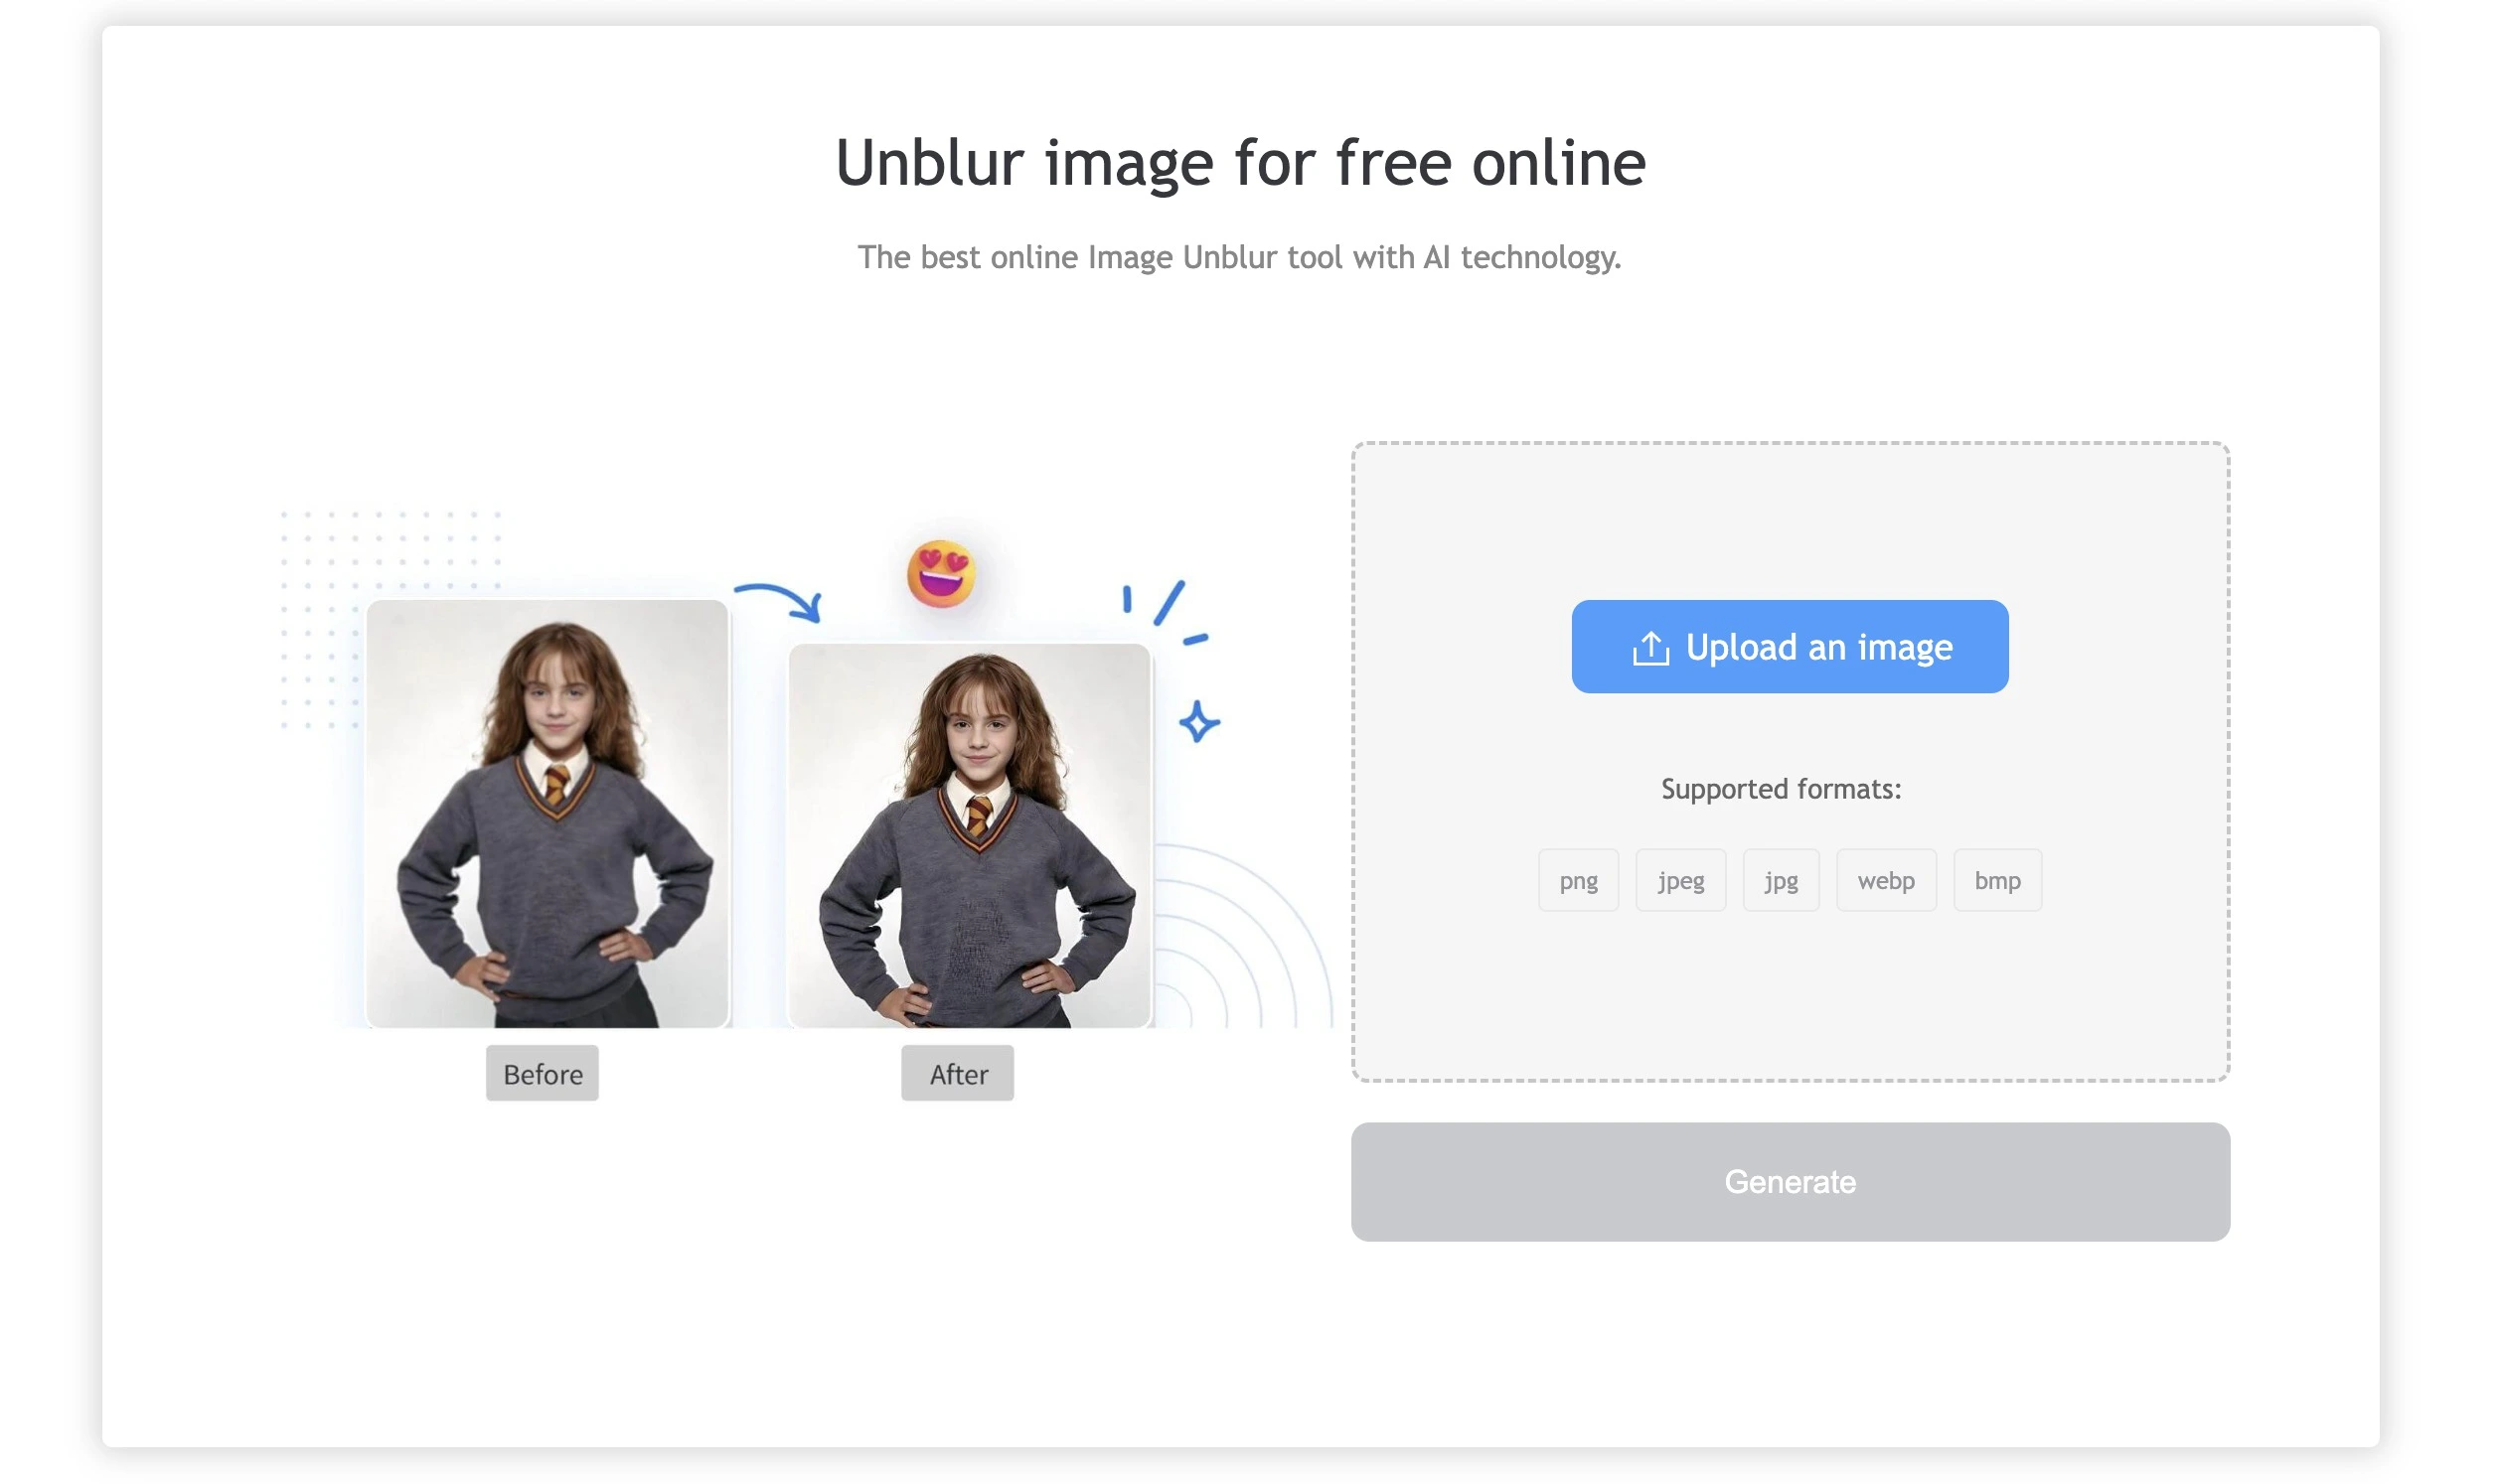
Step 2: Upload Your Blurry Photo
Once you’re on the website, simply click on the upload button. You can upload any blurry photo directly from your iPhone or computer, and it supports multiple formats (JPEG, PNG, and more).
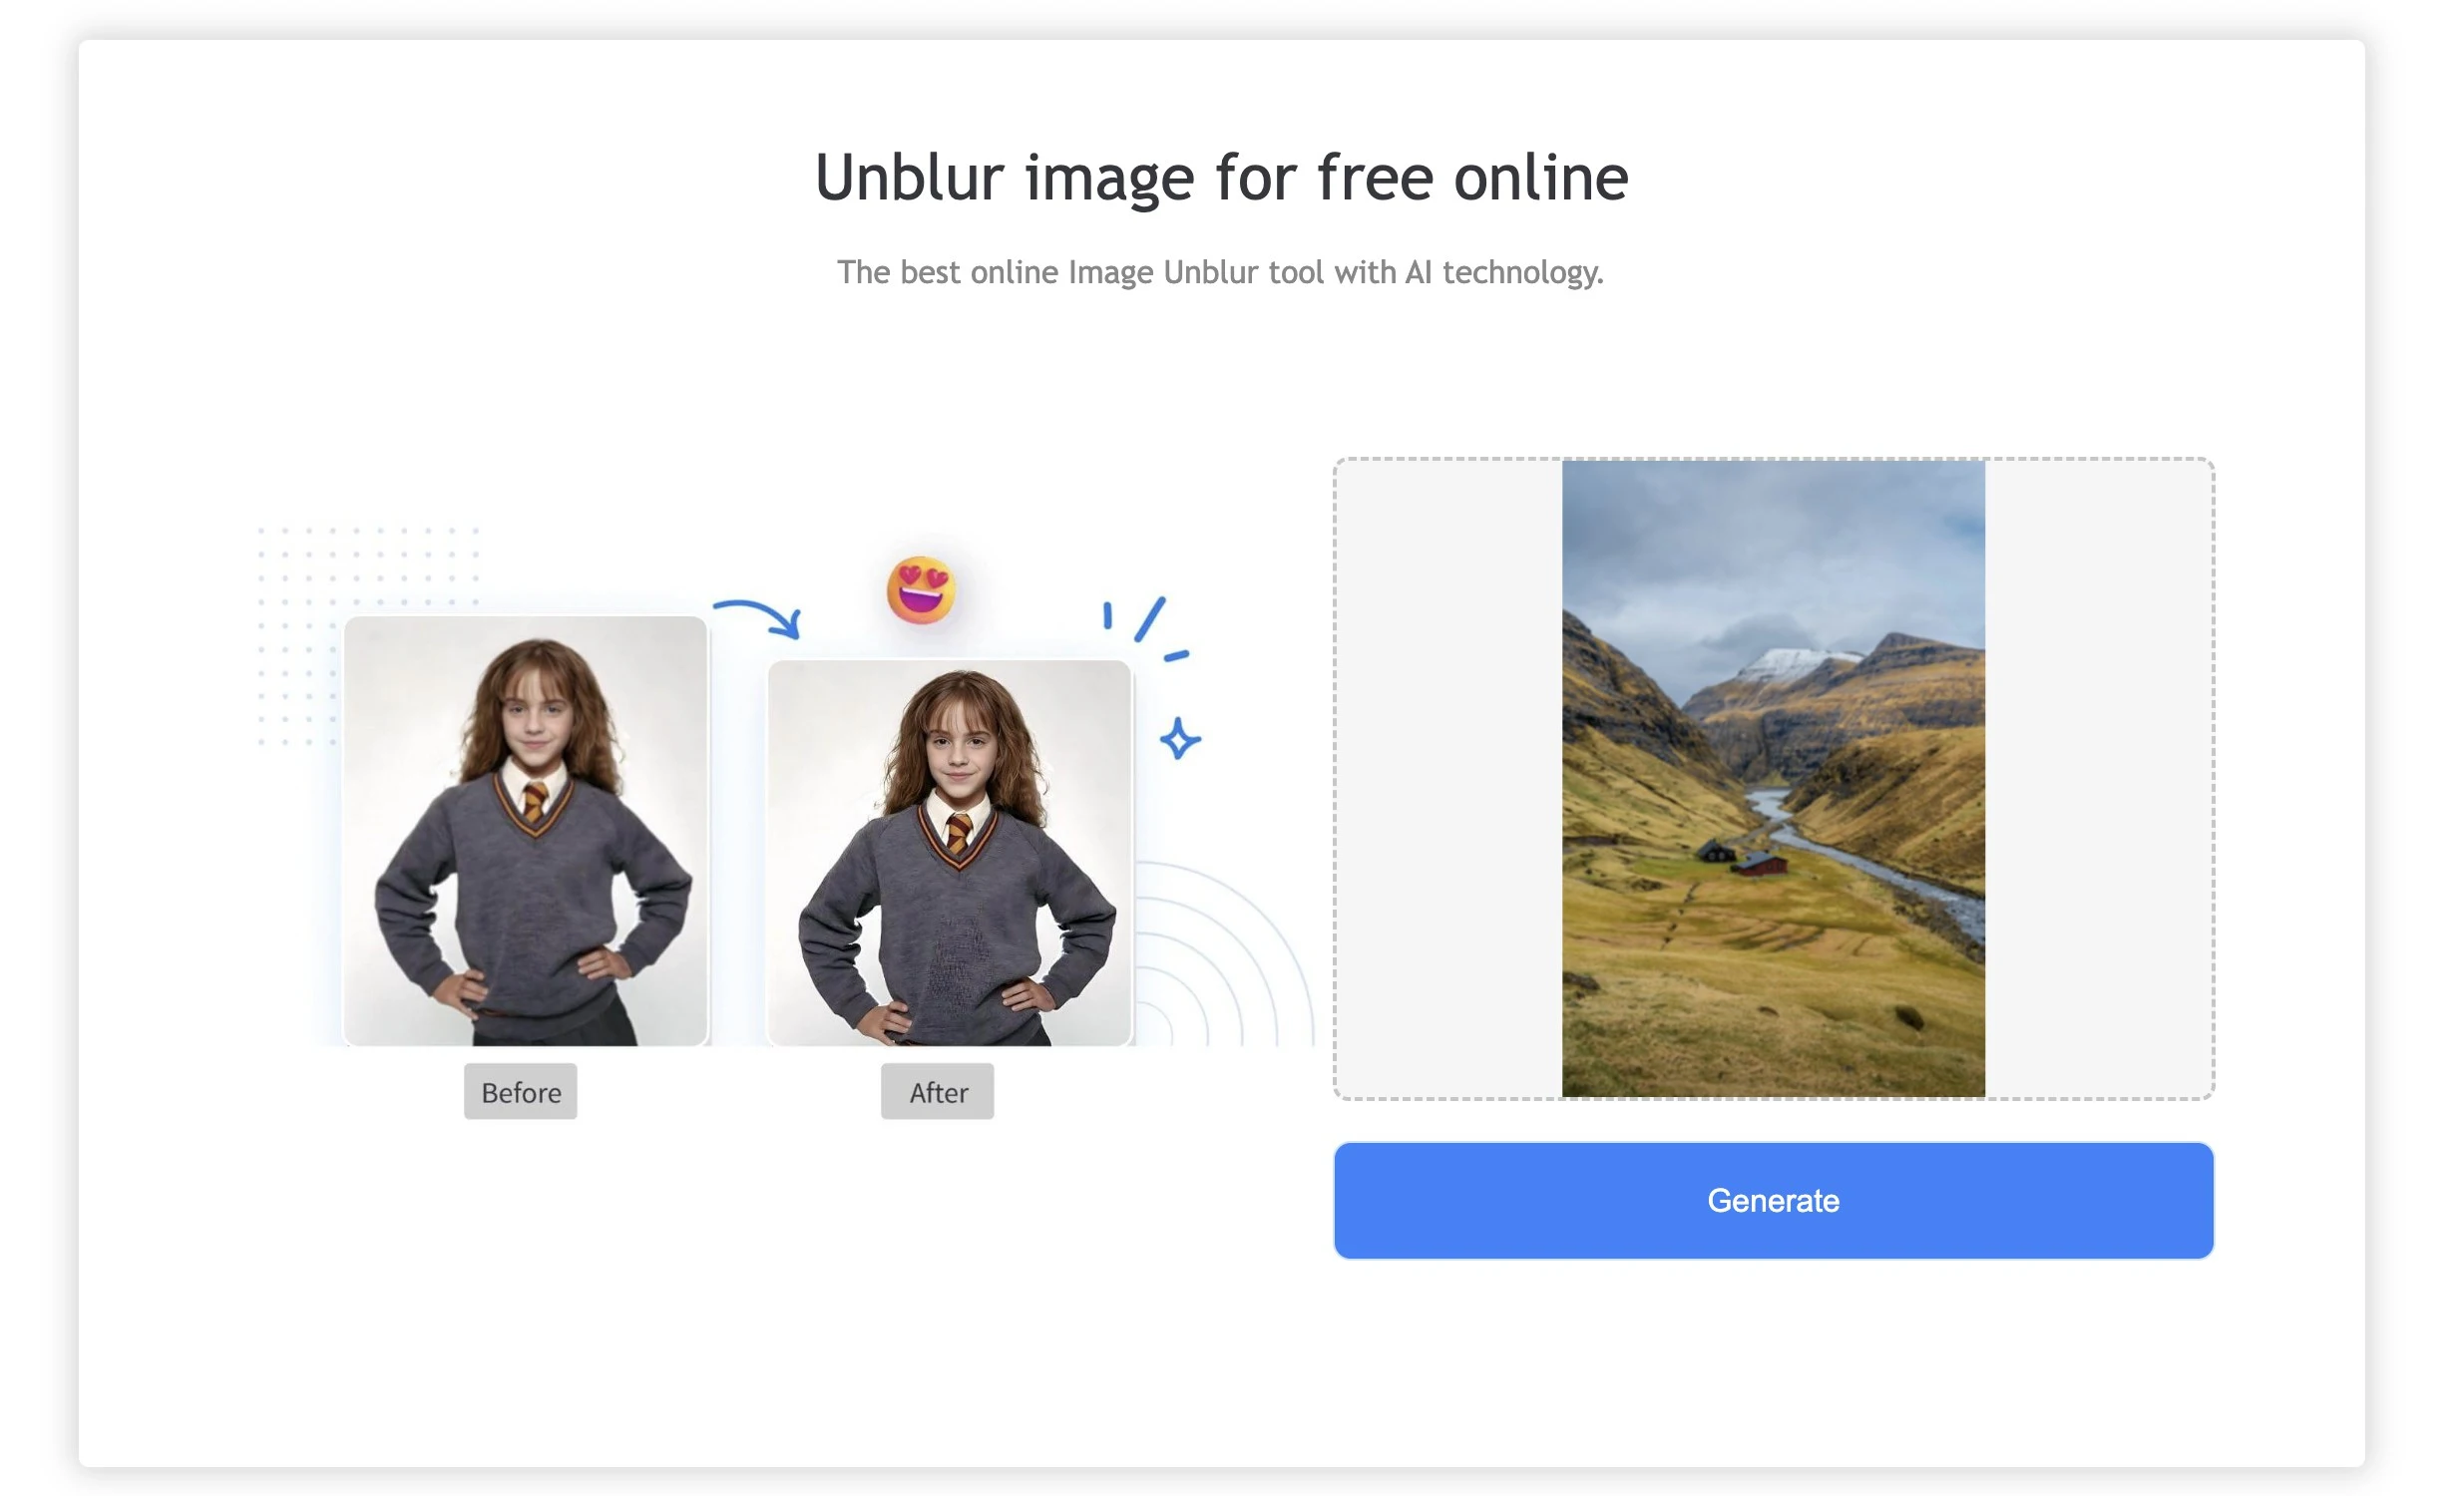
Step 3: Click on “Generate”
After uploading your photo, hit the “Generate” button and let Remaker’s AI work its magic. Within seconds, it’ll start processing your image.
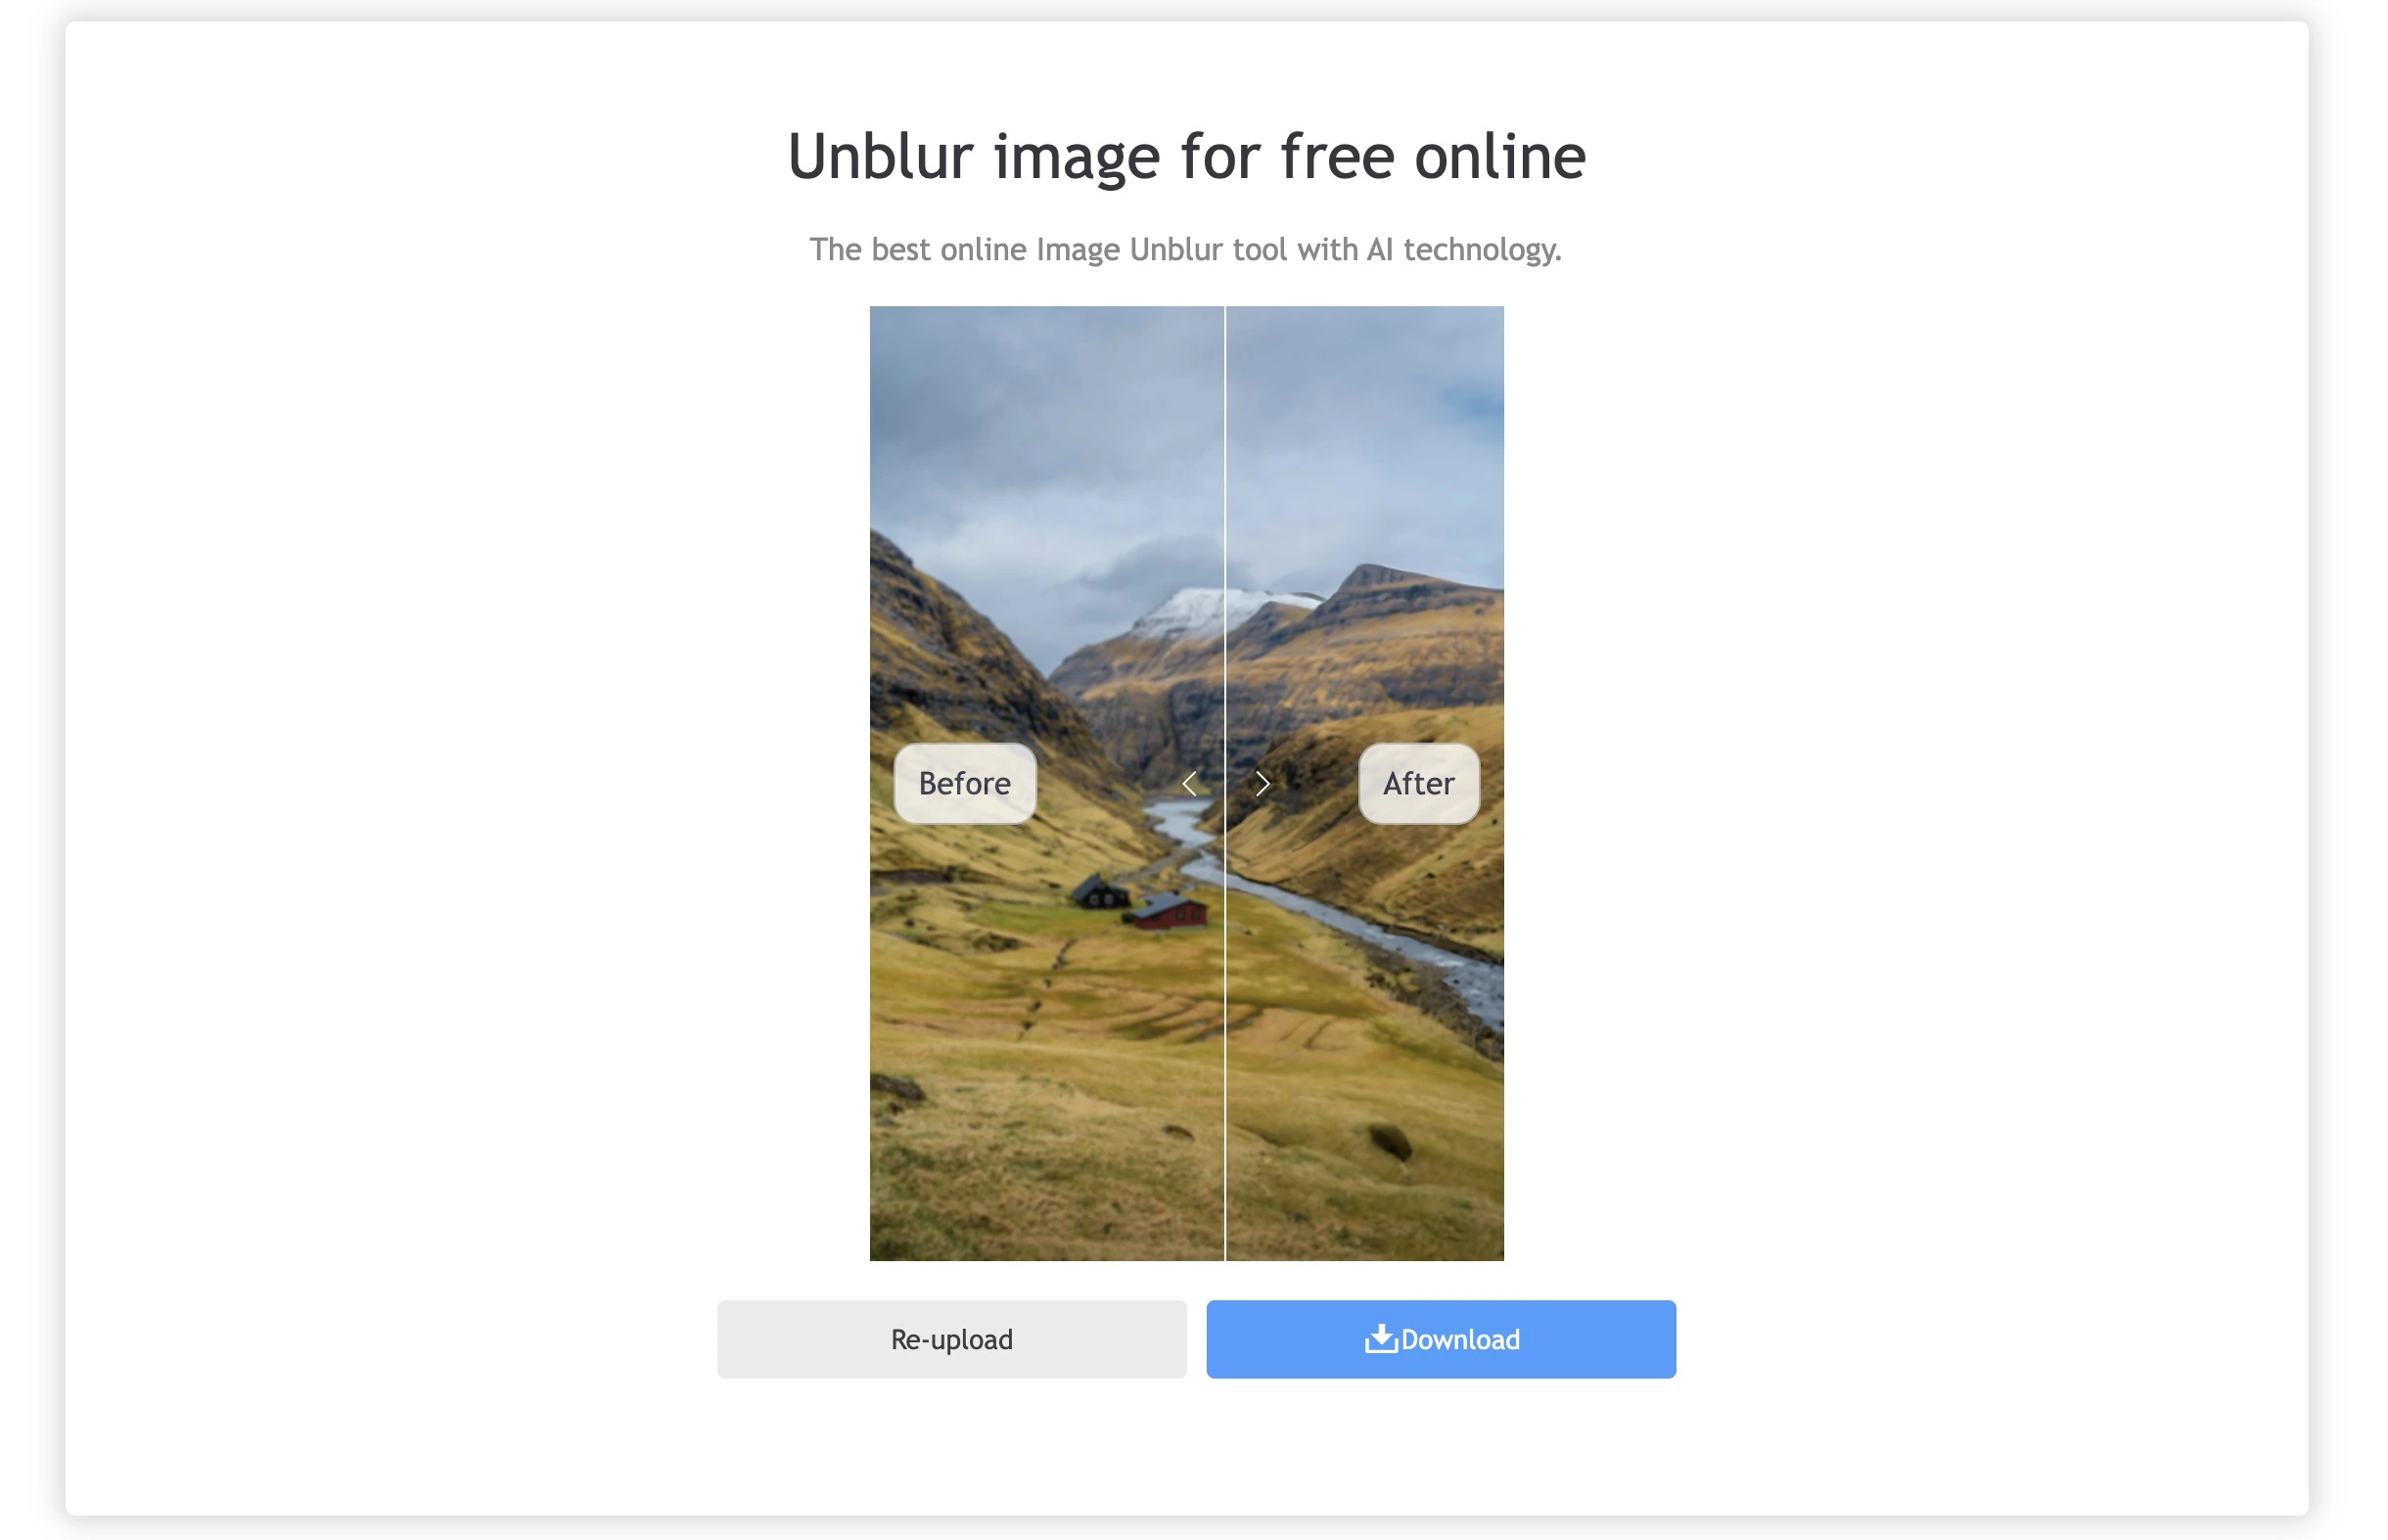
Step 4: Preview the Result
After Remaker has enhanced your photo, you can preview the results. The best part? You can slide the preview bar to compare the before and after! If you’re satisfied with the sharpness, go ahead and download the fixed image.
And that’s it! No apps, no subscriptions, just a simple, fast solution to get your iPhone photos looking sharp again.
Conclusion: Your Go-To Solution for Unblurring iPhone Photos
Final Word: Your Undeniable Answer to Unblur Your iPhone Photos
Certainly, everyone has this bitter experience of shooting a splendid shot and later realizing that the photo turned out to be blurry. Either a small selfie, family gatherings, or scenic beauty all ruined by blurry photos! Everyone needs to calm down-a photo editing expert and time downloading many apps leave you obsolete.
You can easily remove blur on iPhone using the mentioned approaches. After all, you may have just decided to go premium and use an app such as Remini for enhanced quality, or you can just take a long-pick at the quick-fix option with the native photo editing tools on the iPhone.
Remaker is the next convenient and hassle-free option. It is fast, free to use, and no downloads or subscriptions are required. Upload the image and let the AI do the rest. Download the enhanced version and done, all from your browser.
Keep this tomorrow and revise on using anything that will turn a blurry frame tackier. Enjoy reliving those meticulous memories! Happy unblurring!