How to Sharpen Image in Photoshop: Pro Tips for Crystal Clear Photos
A blurred background may work some wonders, but when it is the subject that looks like it emerged through a foggy filter, it is time to do something. Luckily, this can be done through a wide array of options Photoshop offers in sharpening the image and bringing back that lost clarity.
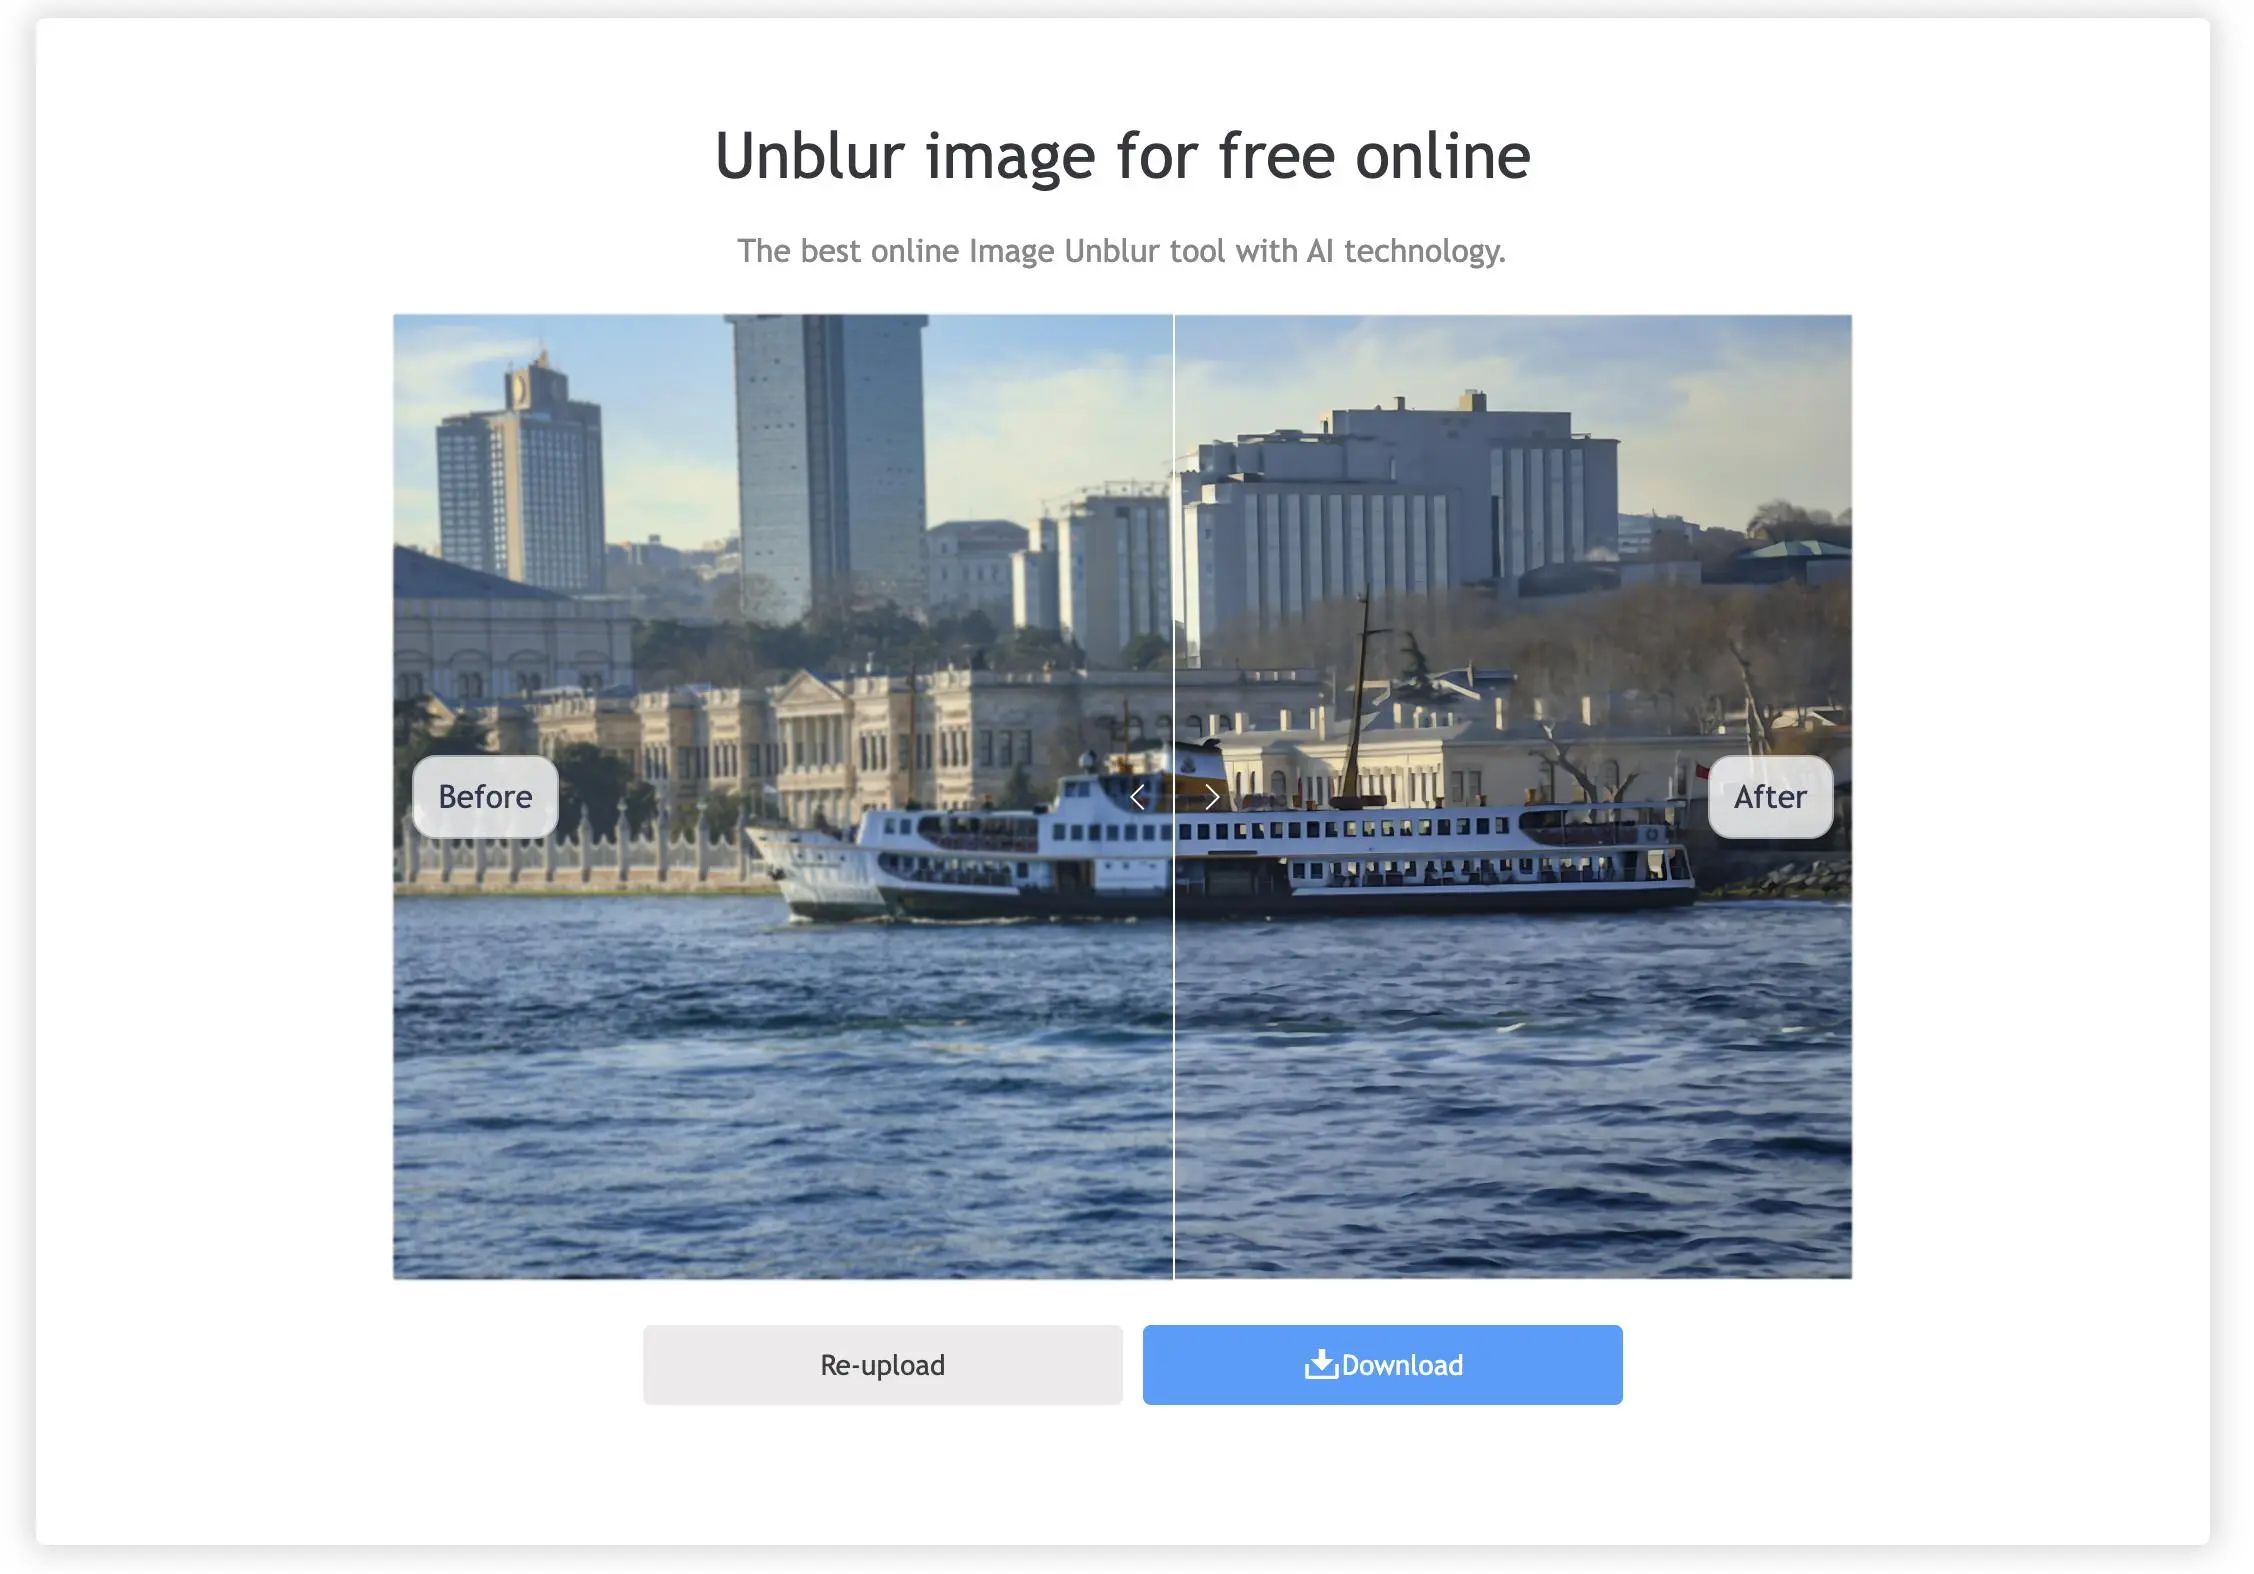
Let's take a look at the ways to revive your photos, and rapidly for those short on time, how such tools as Remaker's Unblur Feature can remedy the problem in seconds.
Why Do They Become Blurry?
Photos getting blurry has been a pain; understanding why it happens might in turn help you not repeat the behavior or fix it after the tumble. Here are three of the most common causes:
Camera Shake
It only takes a slight amount of move to create blur on the image, which could be more amplified in low-light situations also during extended shutter speeds. The picture becomes blurred when one employs the whole effect without a tripod or stabilization method.
Autofocus Errors
In a situation where your camera locks onto the wrong point in the scene, it will usually focus on an object in the background as opposed to the main subject. This would often occur in situations with multiple subjects or trick lighting, causing the focal point you want to be blurred while the less important areas would be quite sharp. slow shutter speed can fail to capture the motion clearly. The result? A streaky, smeared effect that dulls the impact of your shot.
Why Is Sharpening an Image So Important?
Sharpening is not just about fixing blurry photos—it’s a critical step in enhancing the overall quality of your images. A sharp photo brings out fine details, whether it’s the sparkle in someone’s eyes, the texture of fabric, or the crisp edges of a breathtaking landscape. Learning how to sharpen an image in Photoshop allows you to transform your photos into professional quality visuals.
By boosting edge contrast, sharpening helps make the image look clearer, more defined, and more interesting visually, which is particularly applicable to digital pictures because they often lose clarity when resized or compressed.
Further, sharpening is a way of ensuring that the eyes are the focus in a portrait, while the other intrinsic details are blurred and soft. When done right, sharpening changes your picture from mediocre to fantastic, ensuring that each little detail is noticed.
When Should You Sharpen an Image?
Knowing when to use such a tool is important. It is sharpening that keeps small details crisp and makes sure they are not lost in print, which is the reason most printed photographs seem a bit softer than they appear on a screen. Thus, sharpening is also piped in online uploading, where it is used in addressing clarity loss through compression and gives your images a crisp and ready look to stand out.
Selective sharpening forms yet another critical use case, especially in portrait, product, or macro photography. Emphasis on certain areas like the eyes of heroes, intricate textures, or important details makes certain that the essential parts of the image are what receive attention without negatively impacting the rest of the image. It gives you those easier parameters you can apply when doing the actual sharpening like Adobe Photoshop's Smart Sharpen or Unsharp Mask. Applying sharpening correctly and at timing distances makes sure your images create an impact, whether seen on screen or print.
How to Sharpen Image in Photoshop
Use the Smart Sharpen
Smart Sharpen is like the Swiss Army knife of sharpening—it's precise, flexible, and super effective. Controls for Amount, Radius, and Noise Reduction provide full control of the settings for fine-tuning each and every little last detail. Truly, it sharpens those edges like a pro without a grainy texture to the photo. Work with a scalpel, not a chainsaw.
In addition to that, Smart Sharpen can cater to specific blurs like Gaussian Blur, Lens Blur, or Motion Blur. Do you have shaky hands? Not a problem. Did you just take a blurry action shot? This tool is here to help. It’s the ultimate fixer-upper, turning “Wait, what am I looking at?” photos into “Whoa, that’s crystal clear!” masterpieces.
Use the High Pass Filter
High Pass is the sharpening method of choice for pro photographers, who strive for maximum control without sacrificing image quality. It works by picking out an edge in your photo and sharpening just that one area, leaving the color and soft areas alone. The technique is well suited for portraits and detailed shots because over-sharpening can ruin the look of natural.
The High Pass filter is impressive in its simplicity and effectiveness, allowing for razor-sharp results in minutes. Duplicate your image layer, apply the High Pass filter and change the blend mode to overlay or soft light, and in a matter of minutes have stunningly sharp edges. Like the "DIY genius" of sharpeners—quick, customizable, and surprisingly easy to master! Better yet, you don’t mess with your original image, so you can always tweak back and forth until it’s just right.
Use the Unsharp Mask
The Unsharp Mask is like Photoshop’s old reliable—it’s been around forever and still delivers great results. Despite its odd name (it’s not unsharp, I promise), this method is perfect for giving your images a crisp, defined look by increasing edge contrast. It’s especially effective for high-resolution photos or when you need to enhance subtle details without going overboard.
What makes Unsharp Mask stand out is its simplicity and control. With just three sliders—Amount, Radius, and Threshold—you can fine-tune the sharpening effect. It’s like seasoning your food: add just enough to bring out the flavor but not so much that it overwhelms everything. Whether you’re sharpening landscapes, portraits, or macro shots, Unsharp Mask is a tried-and-true method that gets the job done without much hassle.
Too Much Hassle? Let AI Make Image Sharpening a Breeze
If you've taken a look at those classic Photoshop tutorials and still find it a bit too difficult to sharpen an image or really don't want to try to get all their dirty hands learning how to use Photoshop, instead, you can hop on to Remaker AI's Unblur Image tool.
Enough said! This tool is fast moving, for sure, and operates really easily. Within just a few quick steps, you'll be able to get results that rival those of Photoshop's old sharpening tools. I will take you step-by-step through the process of unblurring an image using Remaker.
How to Unblur Image Using Remaker AI: A Step-by-Step Guide
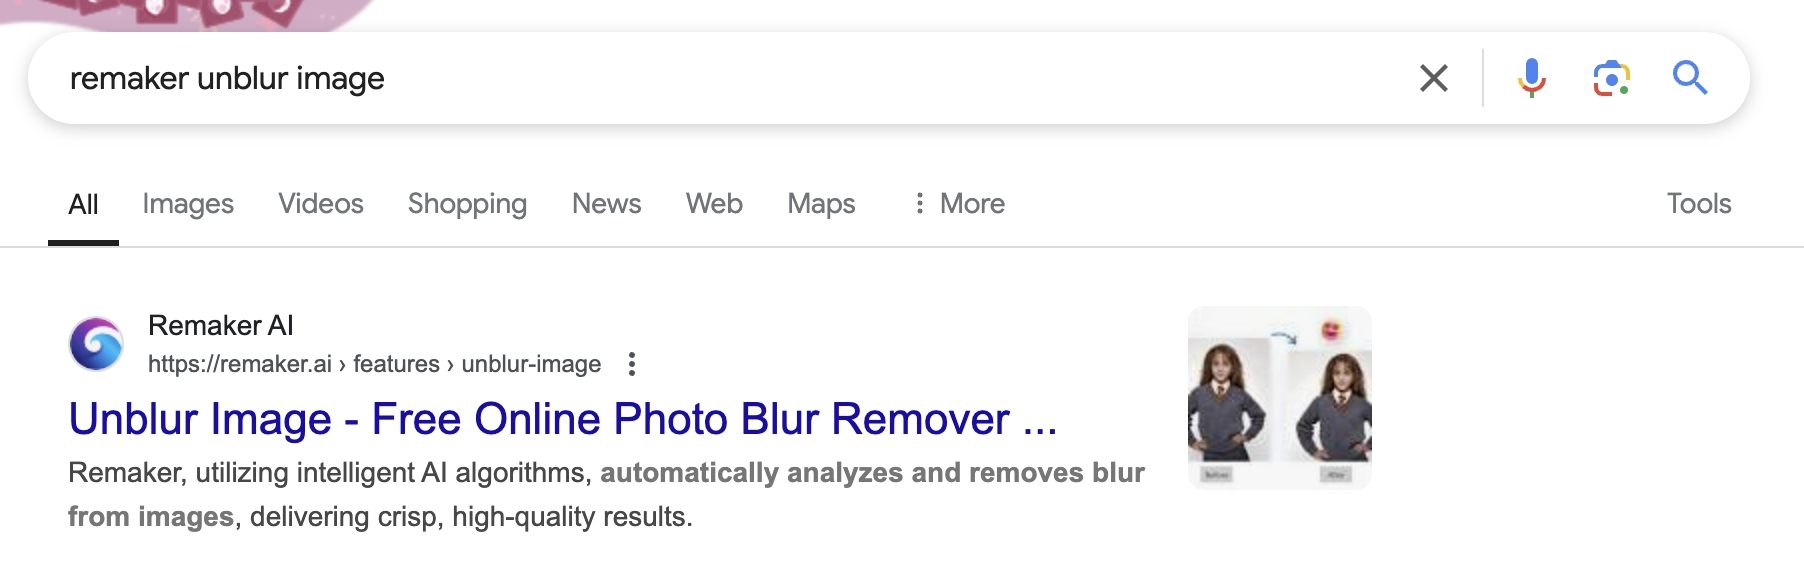
Step 1: Google "Remaker Unblur Image"
Google the phrase Remaker Unblur Image, which takes you to the official website of the Remaker AI tool, where it usually works to the best of its ability.
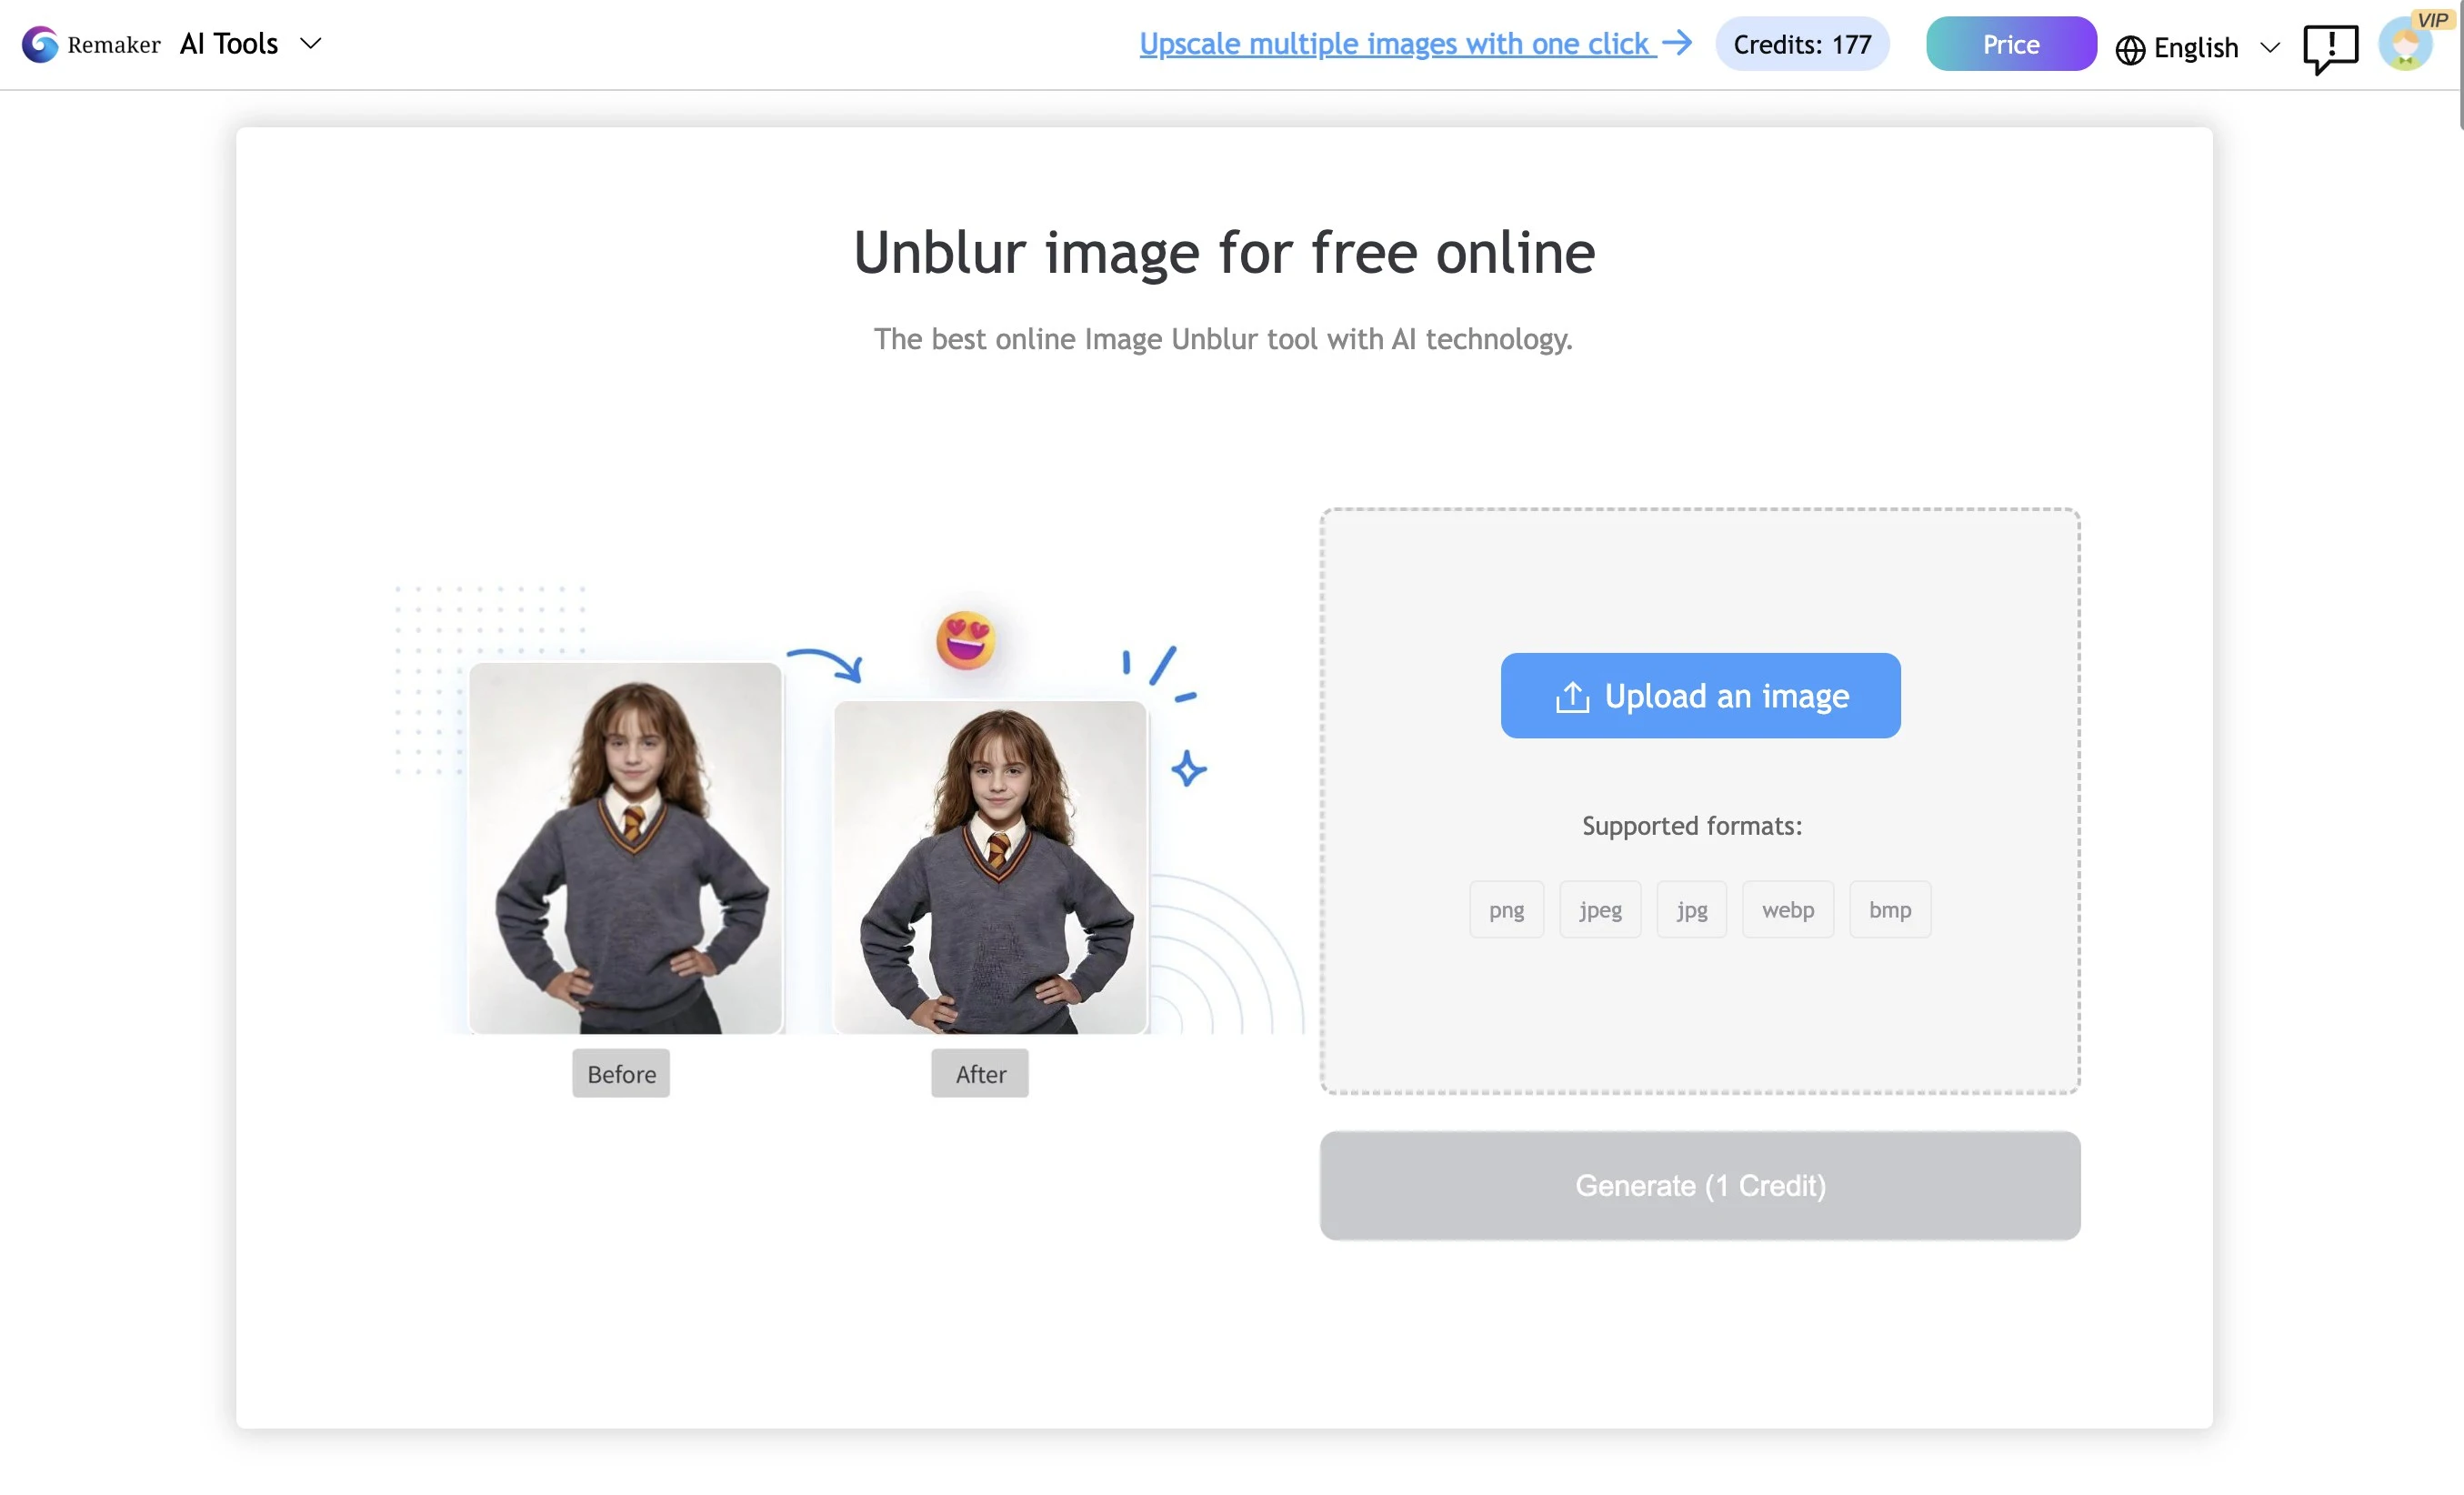
Step 2: Upload Your Image
Once on the site, it will allow you to upload your blurry image that you want to sharpen. For this, Remaker gives you a drag-and-drop or an upload button to do it.
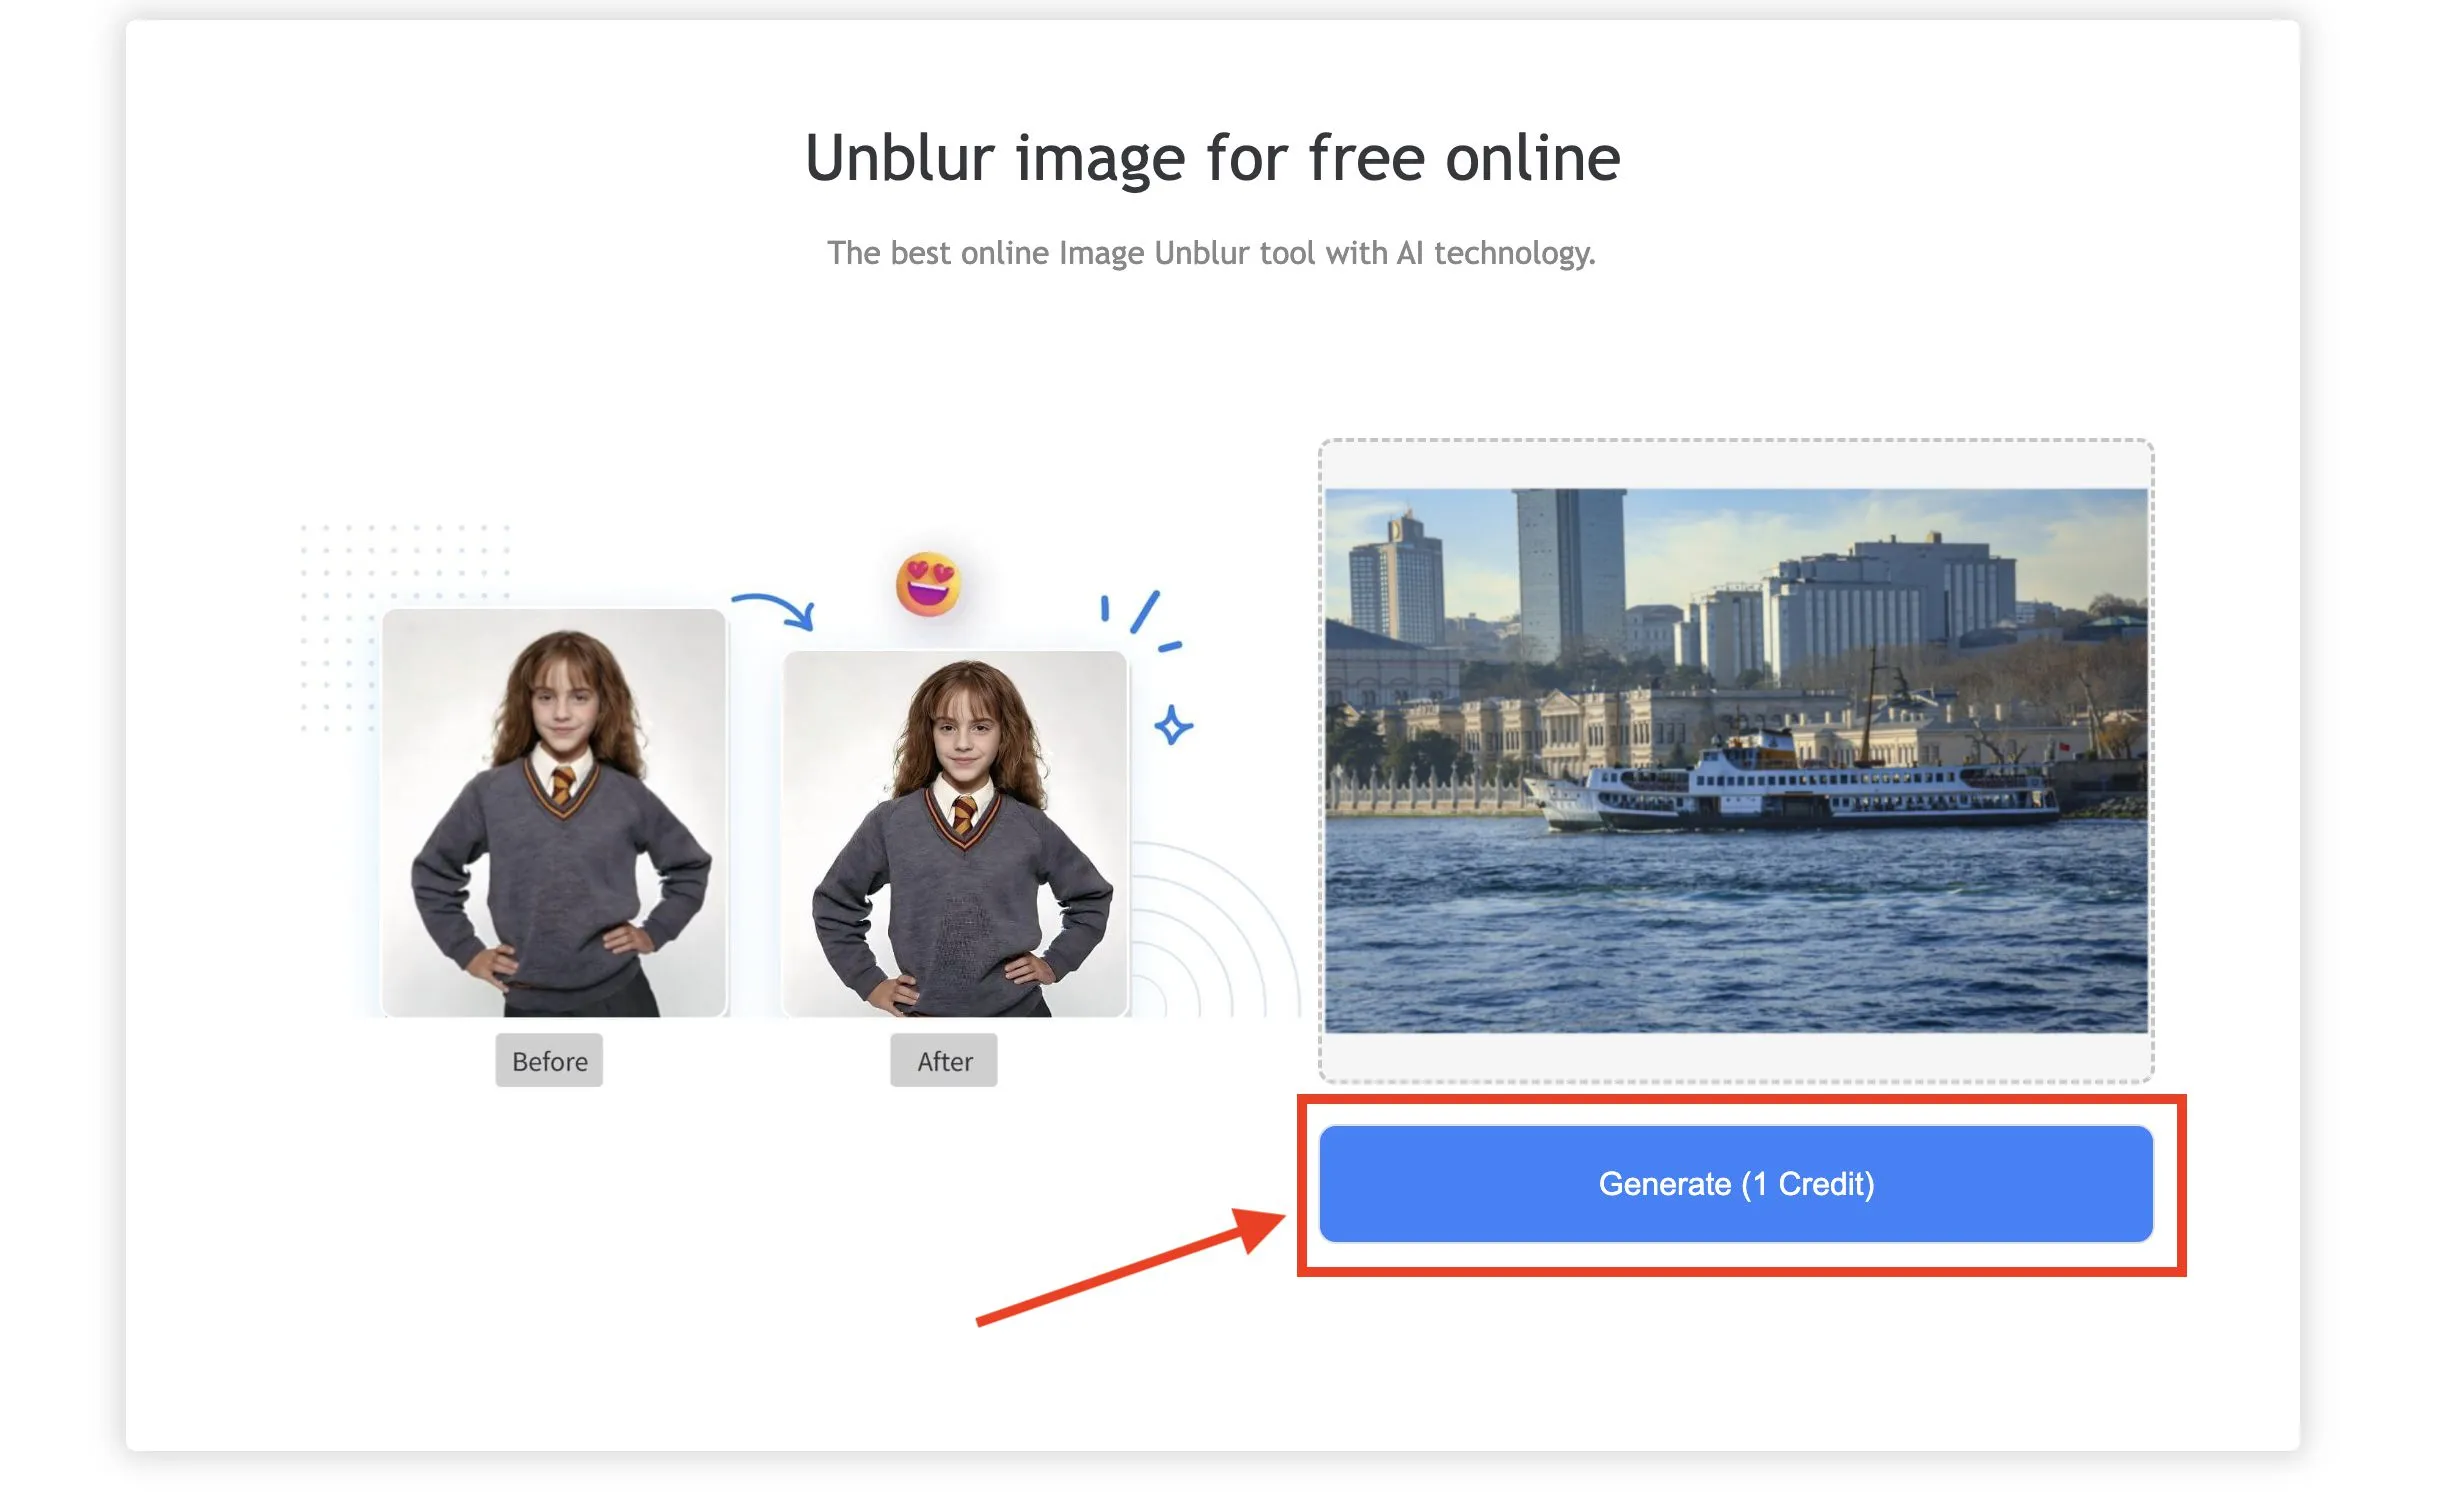
Step 3: Hit 'Generate' and Wait for 10 Seconds
After uploading, click the Generate button and in about 10 seconds, Remaker AI will do its magic and process the image.
Step 4: Preview Your Image
Preview the sharp image. If it is fine and you like it, go ahead to download it. Otherwise, if you consider it fine but a bit off, just remind yourself of a second round or re-upload the sharpened image to enhance it.
Conclusion
How to sharpen an image using Photoshop is a handy technique for anyone wanting to get the most out of their photographs. Using Smart Sharpen, High Pass Filter, or the Unsharp Mask, each method allows one to zero in on those details and breathe life back into soft or blurry images. By adjusting the edge contrast and fine-tuning of various settings, these techniques can transform a soft image into one that is industry standard and razor sharp. Mastering these tools will aid you in optimizing the quality of an image in Photoshop, be it a portrait, landscape, or product shot.
If sharpening an image in Photoshop feels too complicated or time-consuming, Remaker AI’s Unblur Image tool offers a quick and simple solution. In just a few easy steps, you can achieve impressive results without needing extensive knowledge of Photoshop. It’s the perfect choice for those who want fast, high-quality results with minimal effort.
Frequently Asked Questions(FAQs)
- With what tool can I sharpen my image in Photoshop?
Photoshop offers various sharpening options such as Smart Sharpen, Unsharp Mask, or High Pass Filter. You can adjust parameters like Amount, Radius, and Threshold to control the level and degree of the sharpening effects, making your image appear sharper and more defined.
- Photoshop does seem like a task; is there a faster way to restore clarity to an image?
If, for any reason, you cannot figure out how to unblur an image in Photoshop, then quickly turning to Remaker AI's Unblur Image tool is both very fast and easy to use. You upload the picture, hit Generate, and just in a few seconds, whatever the original picture looks like is now clear and sharply outlined—like Photoshop, without the trouble.
- How do you enhance the quality of a blurred digital image?
Utilize Smart Sharpen or Unsharp Mask of Photoshop to restore a blurry image's quality by enhancing their clarity, mainly if the blurry image was caused by either a motion blur or focusing issues. If you're looking for a quick fix, then turn your attention to the wonderfully great Remaker AI's Unblur Image tool; it takes seconds in processing and comes up with a great-looking final output.
- How does the Unblur Image tool by Remaker AI work?
Remaker AI uses image-deblurring algorithms to automatically detect and repair the image-specific blurry regions. Just upload your image, and hit "Generate." The system will analyze the photo and automatically remove the blur to give you a sharp image in a matter of seconds—easier than using Photoshop.
- When should I use an AI Unblur tool rather than resorting to Photoshop?
In the event that you are unable to sharpen the image in Photoshop or require faster, more effortless unblurring, Remaker AI's Unblur Image tool is kinder and quicker. While Photoshop may offer more advanced edits for users to gain more control, for a quick and stress-free unblurring, opt for the AI tool.
- Can Remaker unblur every type of blur?
Remaker AI’s Unblur Image tool works best with light to moderate blurs, especially those caused by camera shake, focus errors, or low-light conditions. It might not give good results if the blurring is too much, though for such complex or deep-blur issues, manual photo-editing tools like Photoshop allow more control to bring out desired effects.